CRED Email Integration (Admins & Users)
Last updated: August 15, 2025
TLDR: Two ways to integrate email
Admin (via Workspace Integrations): Microsoft/Google admin connects their CRED workspace and adds additional user emails directly in CRED.
Individual (via Settings): Users connect their email directly. The first person to connect their email needs to be an admin so they can approve the CRED app for their workspace.
Benefits of Integrating Your Email with CRED
Integrating your email with CRED empowers your sales workflow with deeper visibility, smarter automation, and seamless communication—all from one platform. Key benefits include:
Seamless Email Sync: Automatically log all email activity to the right contact and account in CRED—no manual entry required.
AI-Powered Outreach: Write high-converting, personalized emails using CRED’s AI assistant, trained on top-performing templates and enriched with intent signals.
Multi-Channel Sequencing: Combine email (LinkedIn and calls coming soon) into a single outbound flow, managed and tracked from one central dashboard.
Engagement Insights: Monitor opens, clicks, replies, and bounces in real time, allowing reps to prioritize and personalize follow-ups based on behavior.
Accelerated Ramp & Efficiency: New reps get up to speed faster with guided email sequences, built-in messaging suggestions, and automated workflows.
📧 Supported Email Clients
Email Client | Supported | Requires Admin Setup |
Gmail (Google Workspace) | ✅ | ✅ |
Outlook (Microsoft 365) | ✅ | ✅ |
🛠 Admin Setup (One-Time)
A Gmail or Outlook administrator must connect the workspace and add additional user emails directly in CRED.
For Outlook (Microsoft 365)
Go to Workspace Settings -> Integrations
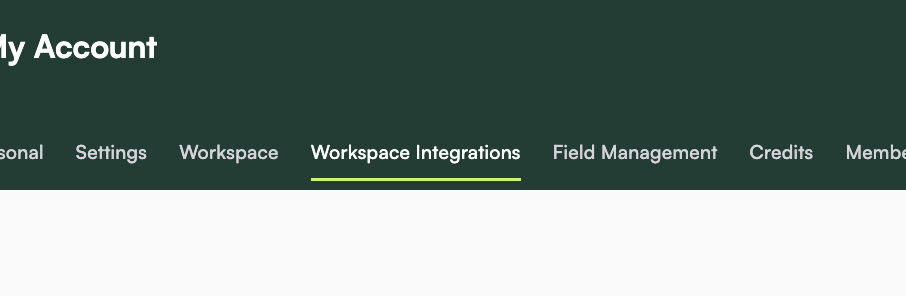
2. Click Enable Outlook
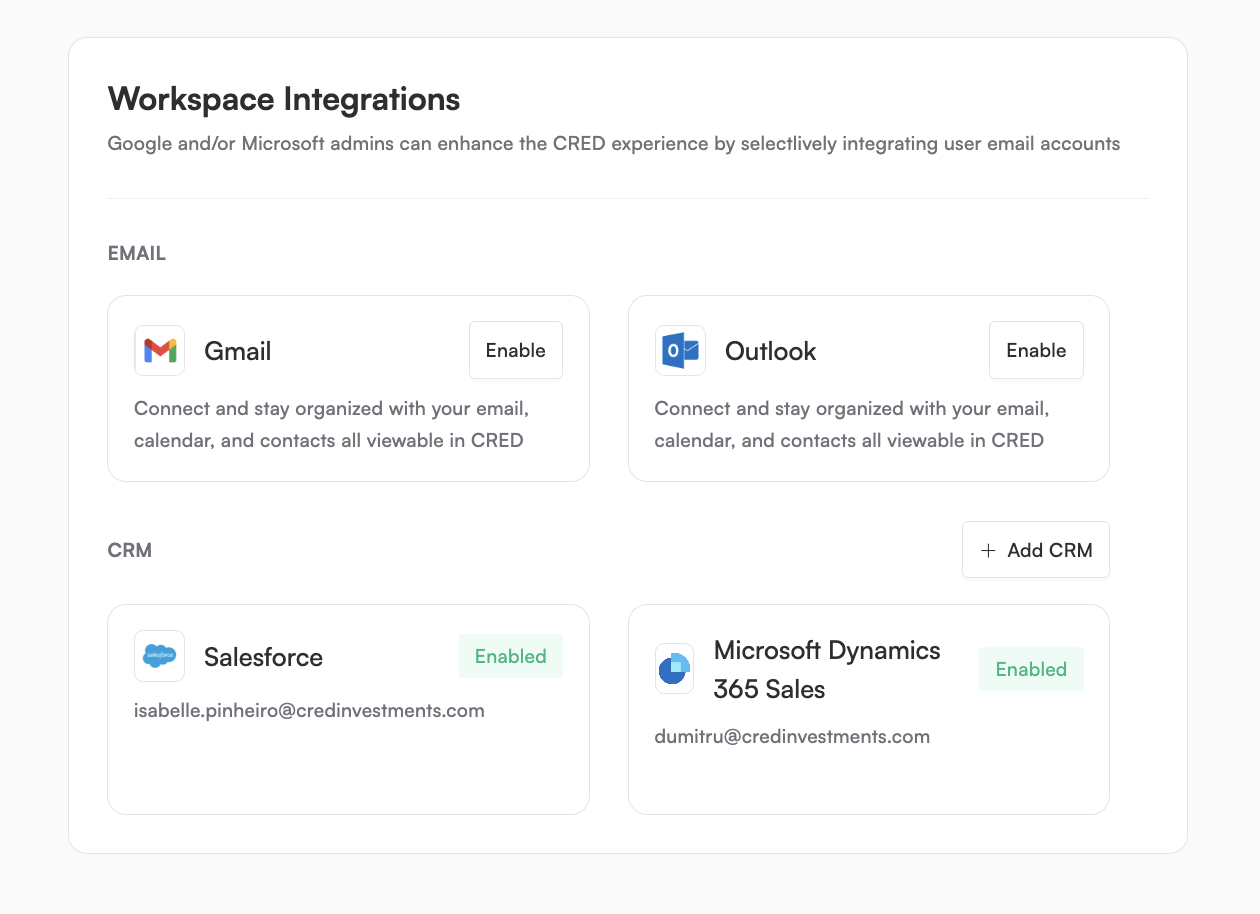
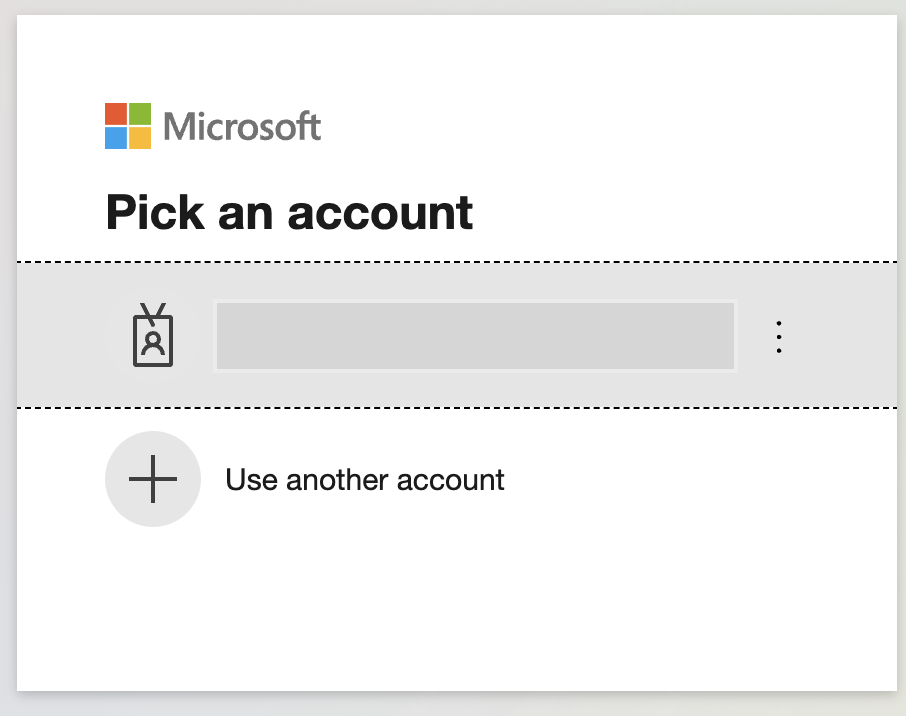
3. Log in to your Microsoft account
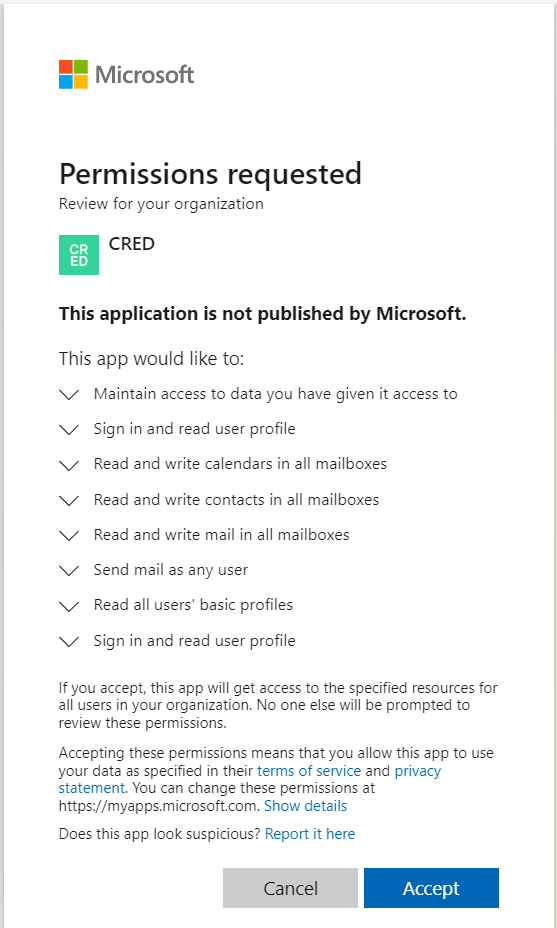
4. Accept the requested permissions and Microsoft OAuth scopes
⚠️ If this step is skipped, individual users will see a permission error when trying to connect their email.
5. ✅ Your workspace has been connected to Outlook, you must now add all users.
⚠️ If users aren't directly added after the workspace is connected, they won't be integrated.
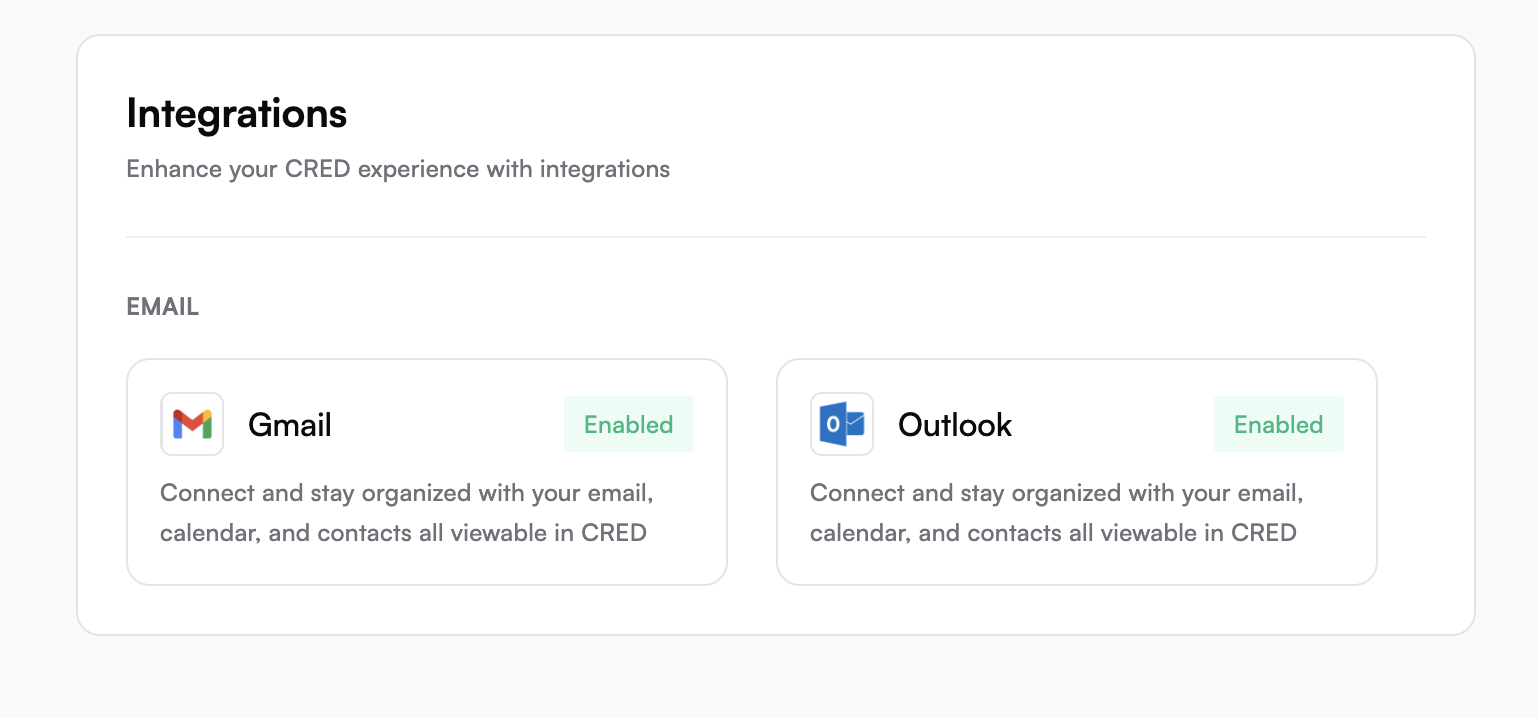
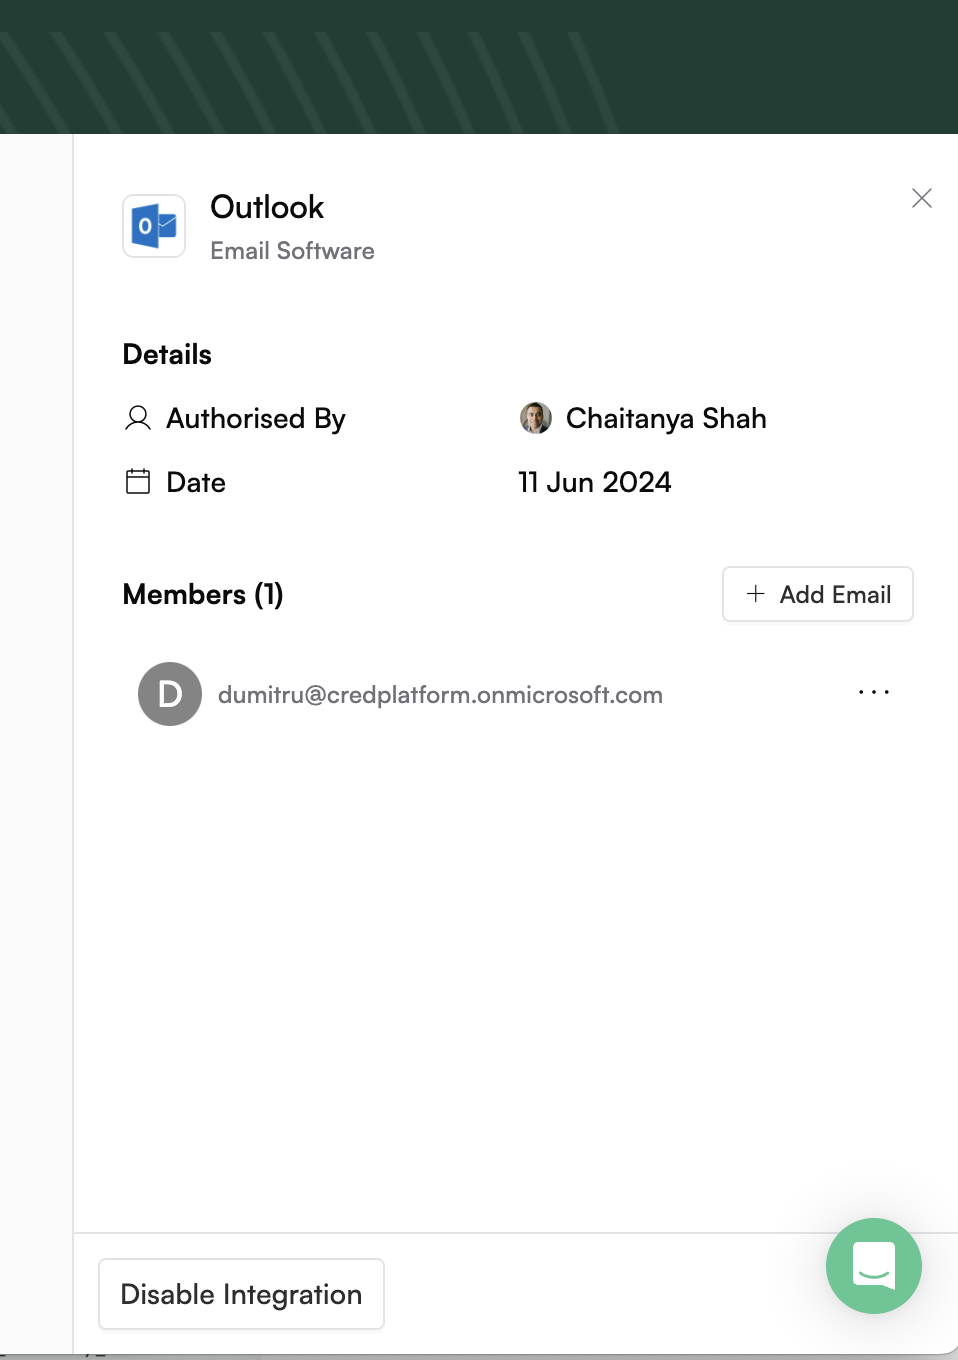
6. Click on the Outlook tile to open the sidebar.
7. Click on Add Email.
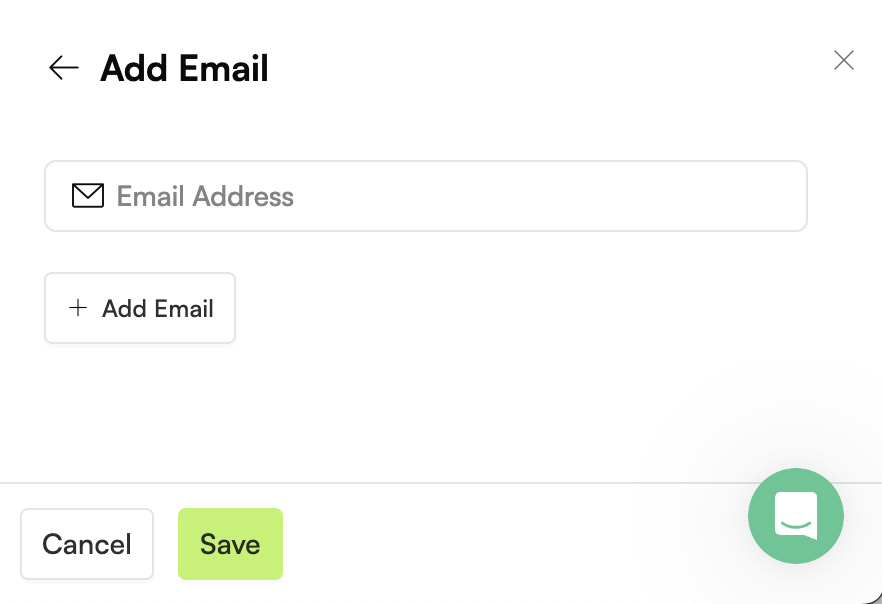
8. Input email address(es) and click Save.
For Gmail (Google Workspace)
Step 1: Enable Google Workspace APIs
Log into Google Cloud Console using your admin account.
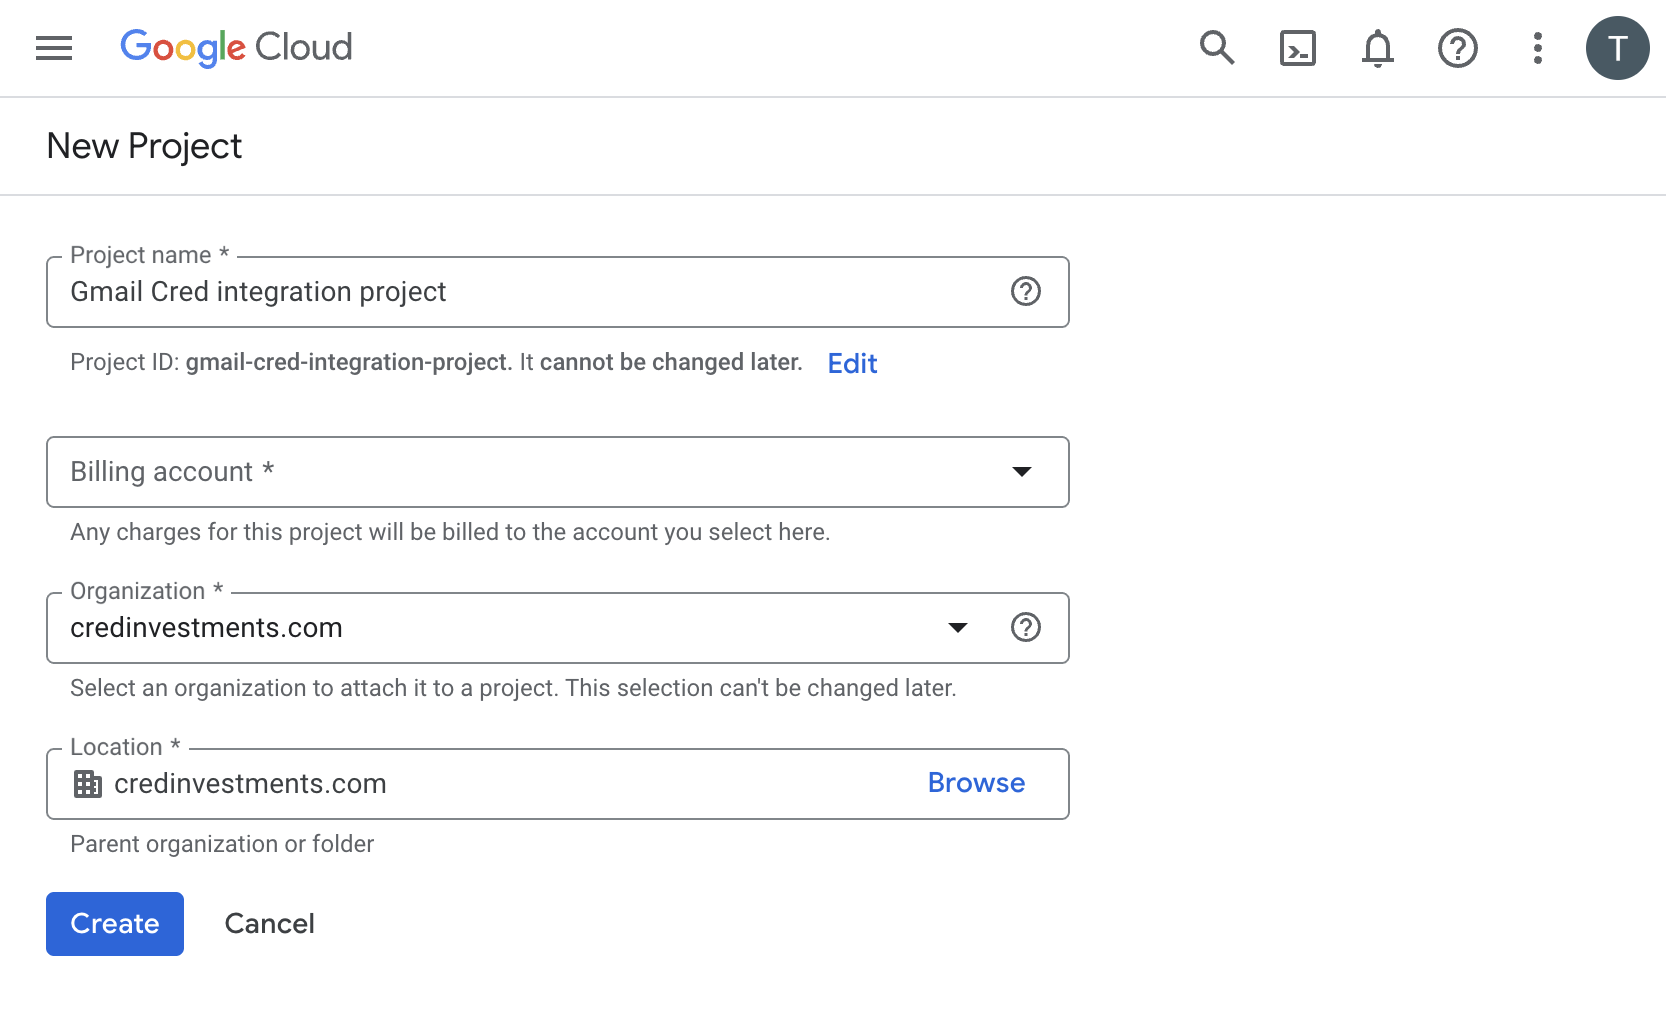
Create a GCP project if you haven't already.
From the sidebar, navigate to
More products > Google Workspace > Product Library.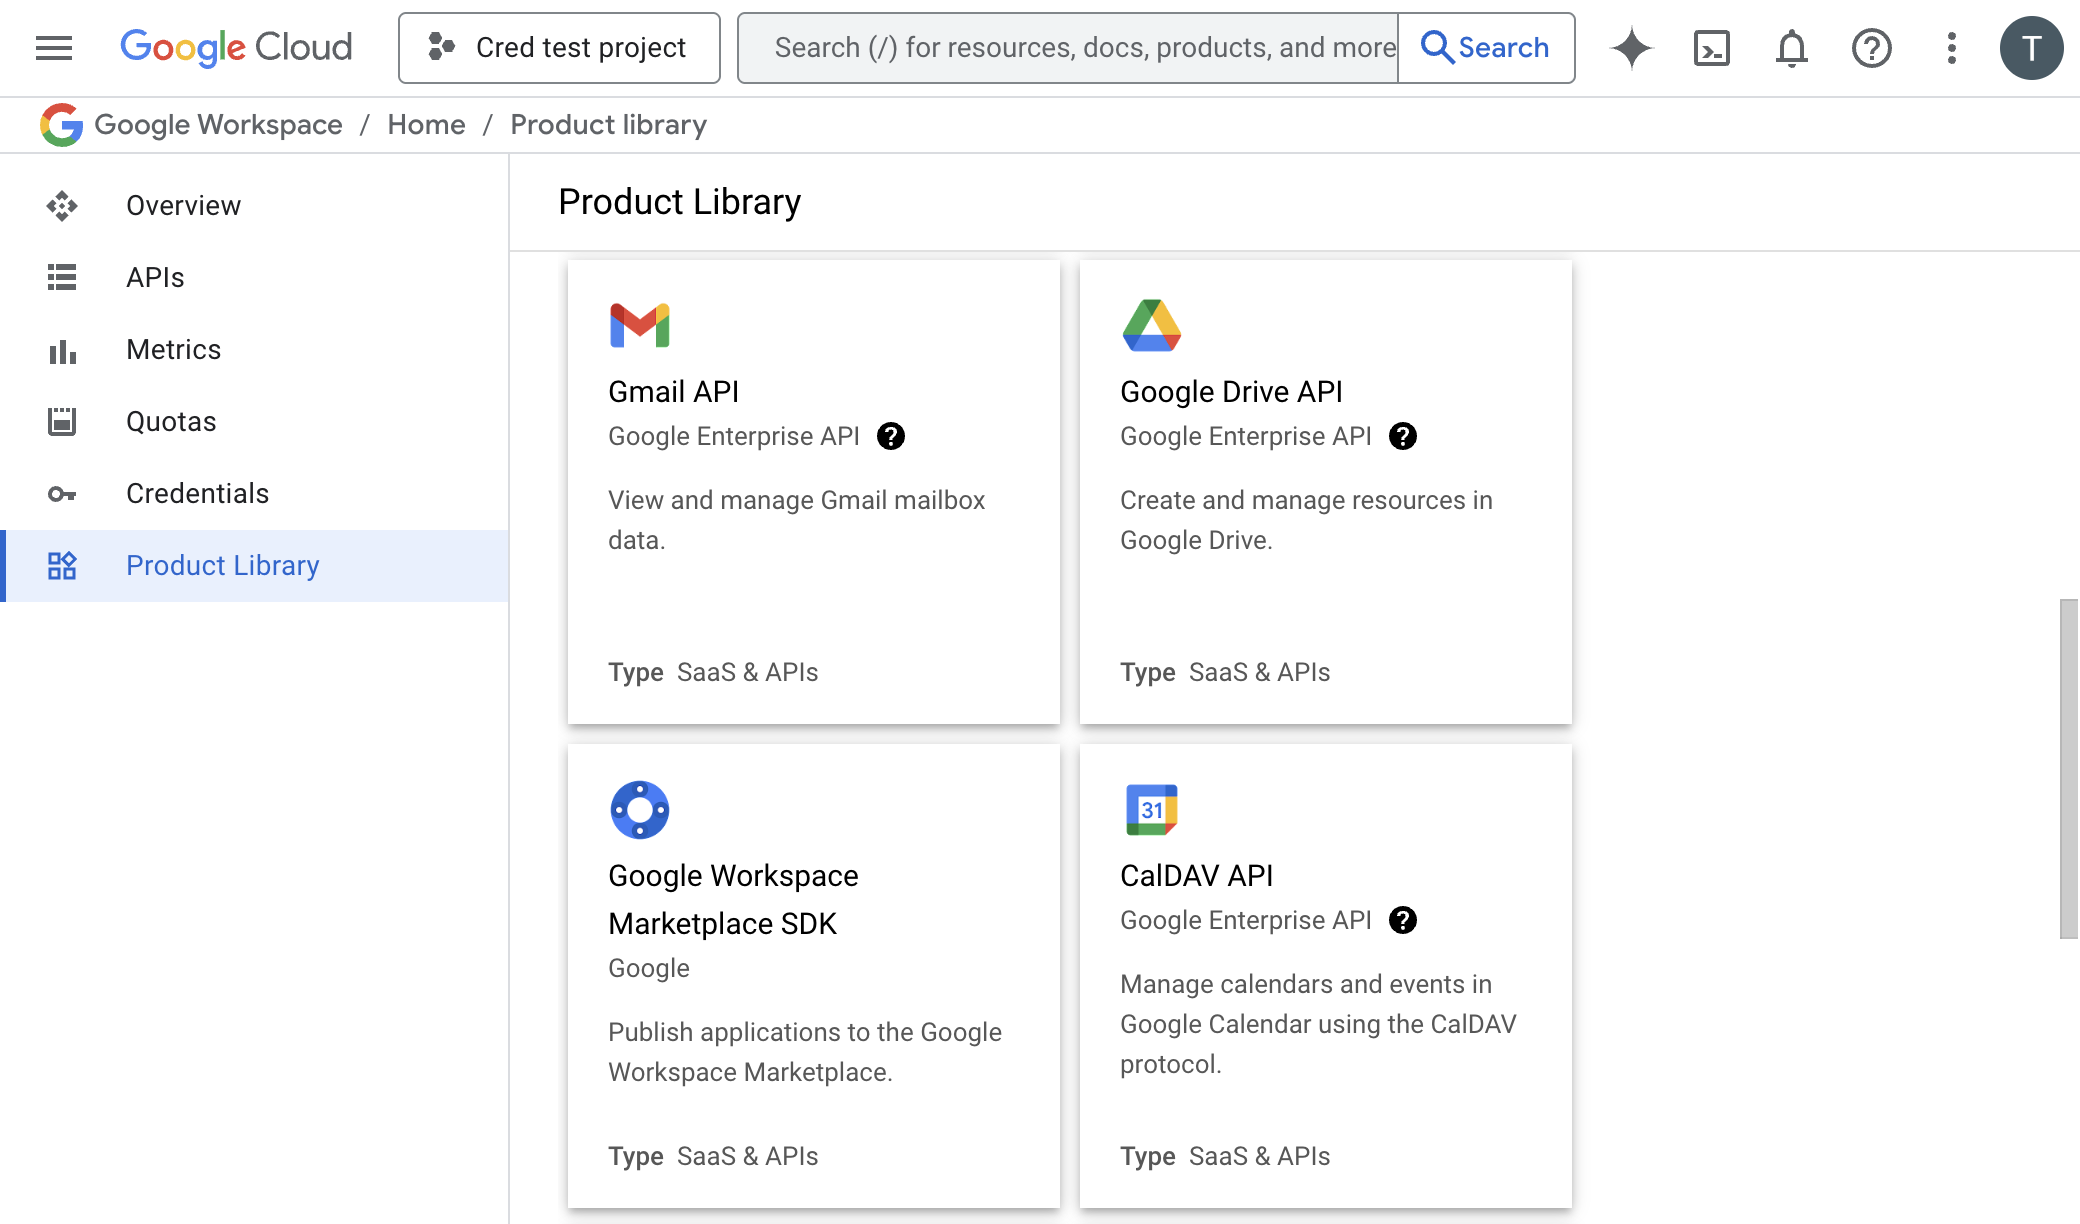
Enable the following APIs:
Gmail API
Google People API
Google Calendar API
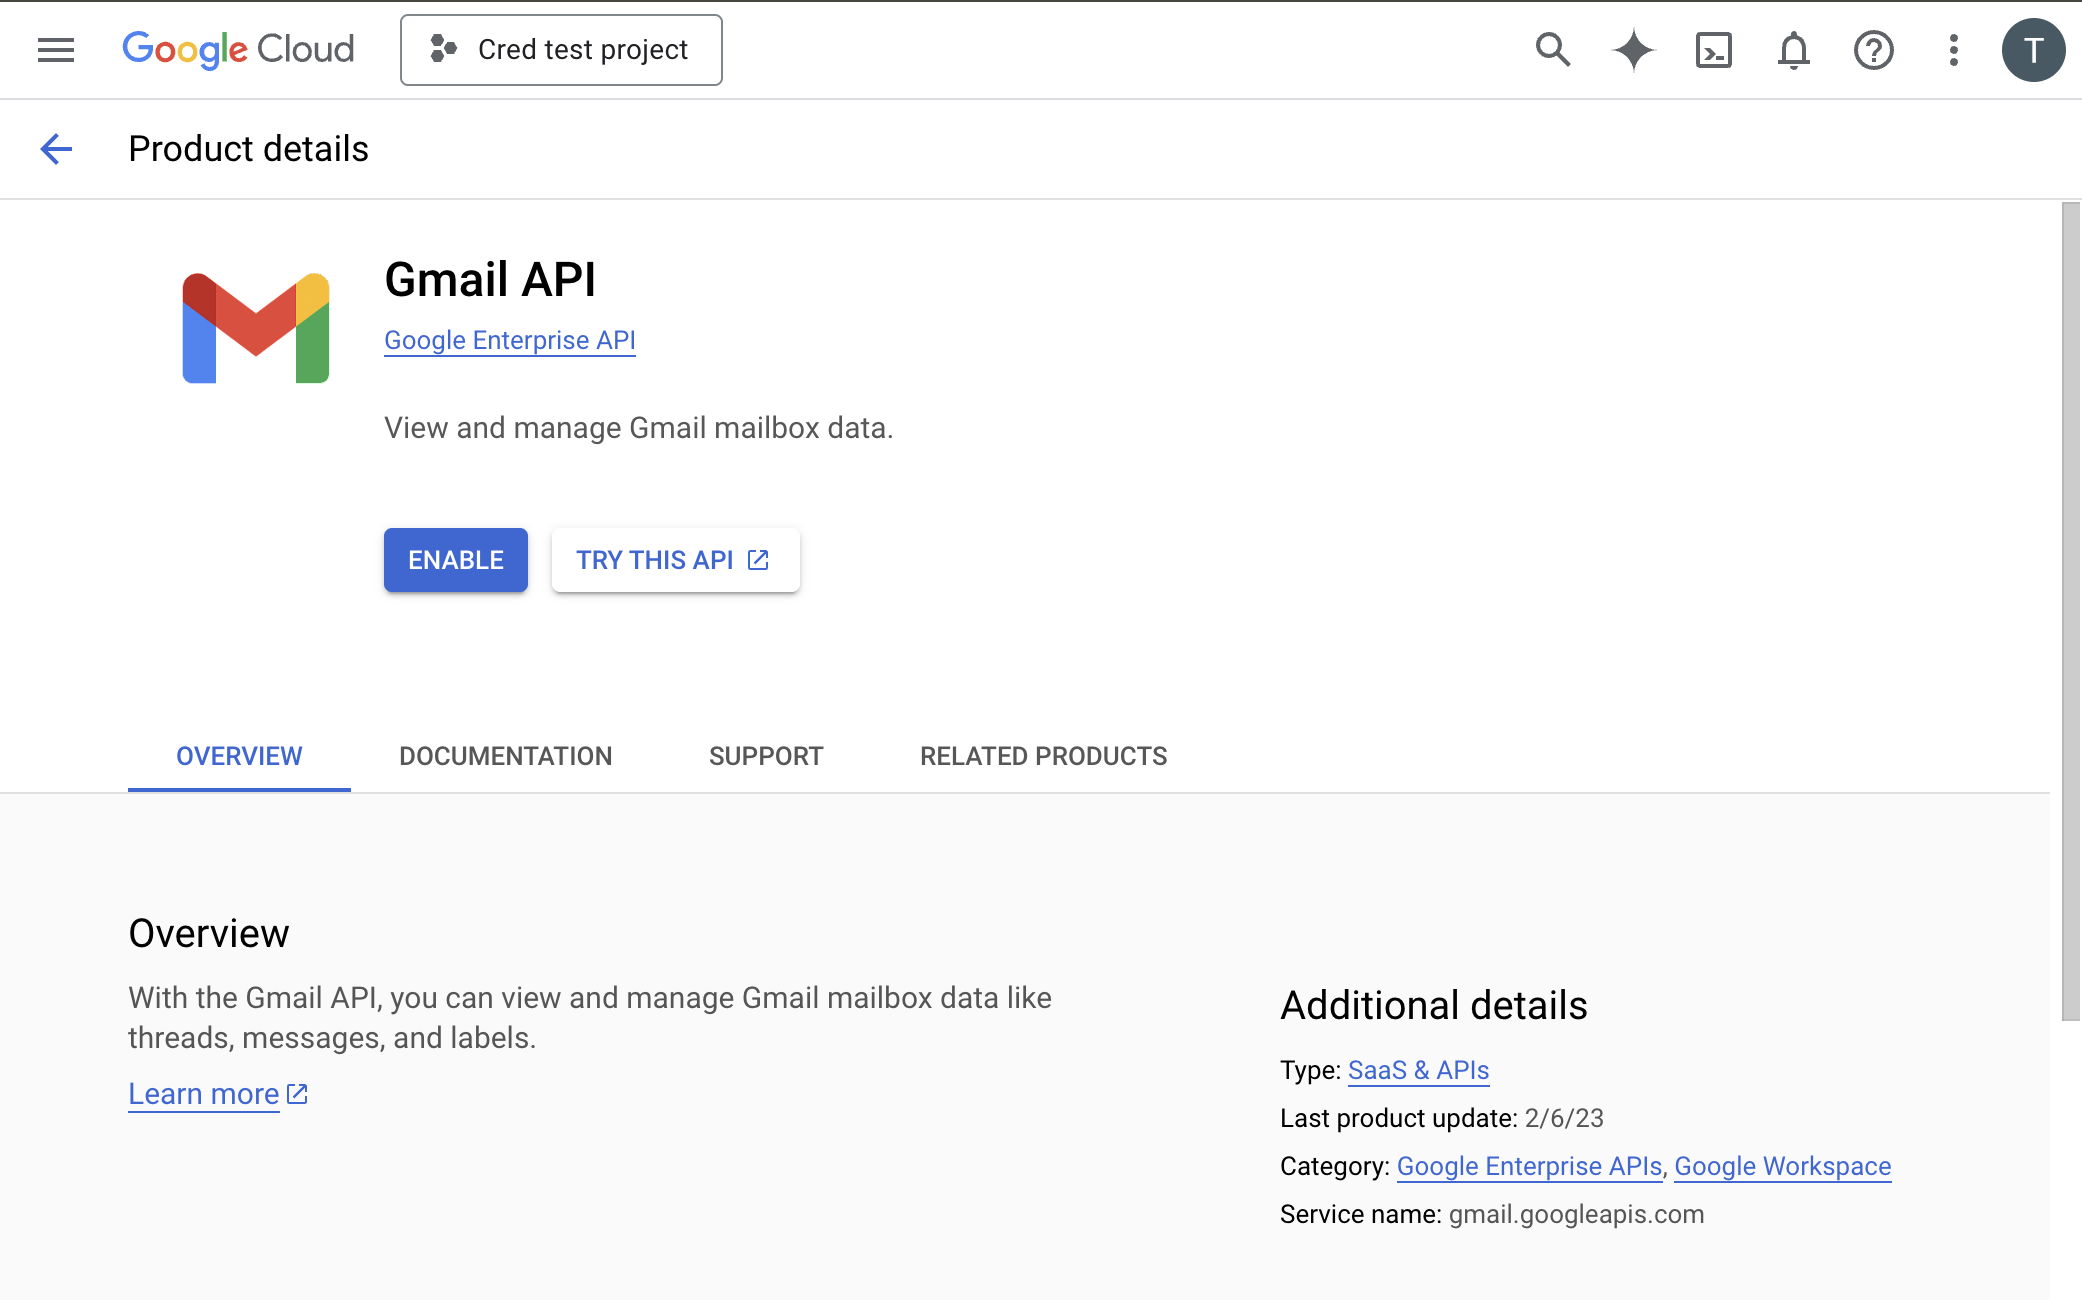
For each:
Click on the tile
Click Enable
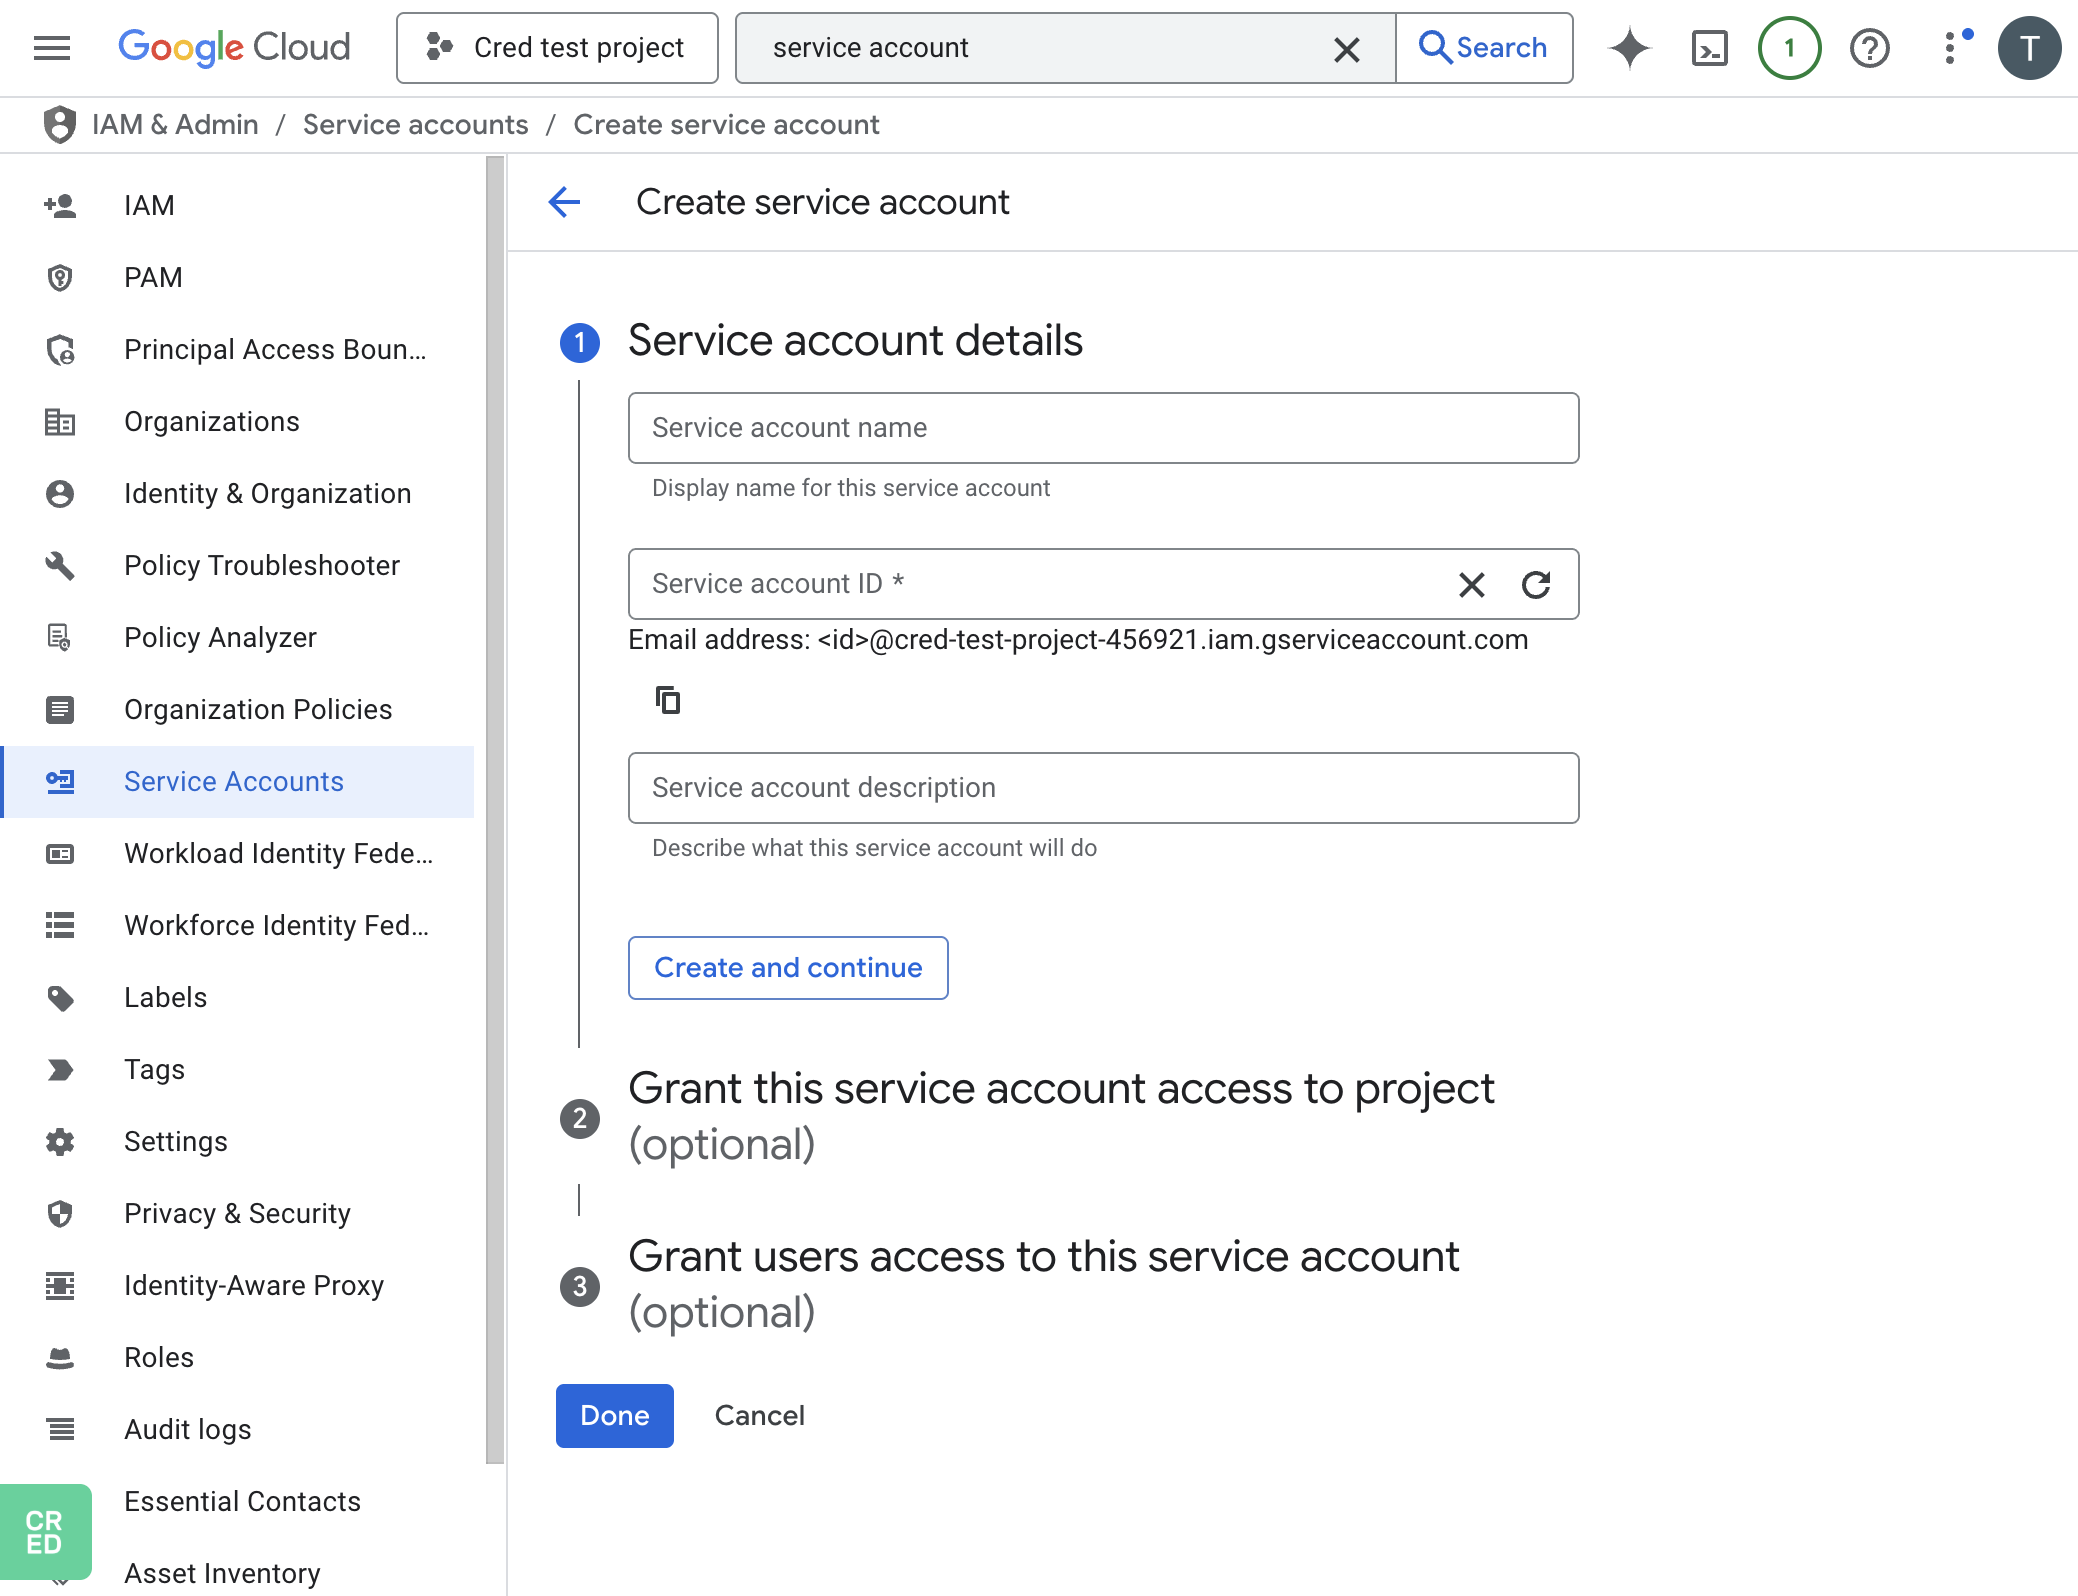
Step 2: Create a Service Account
In the Google Cloud Console (GCP) global sidebar go to
IAM & Admin -> Service Accounts. Or search Service Accounts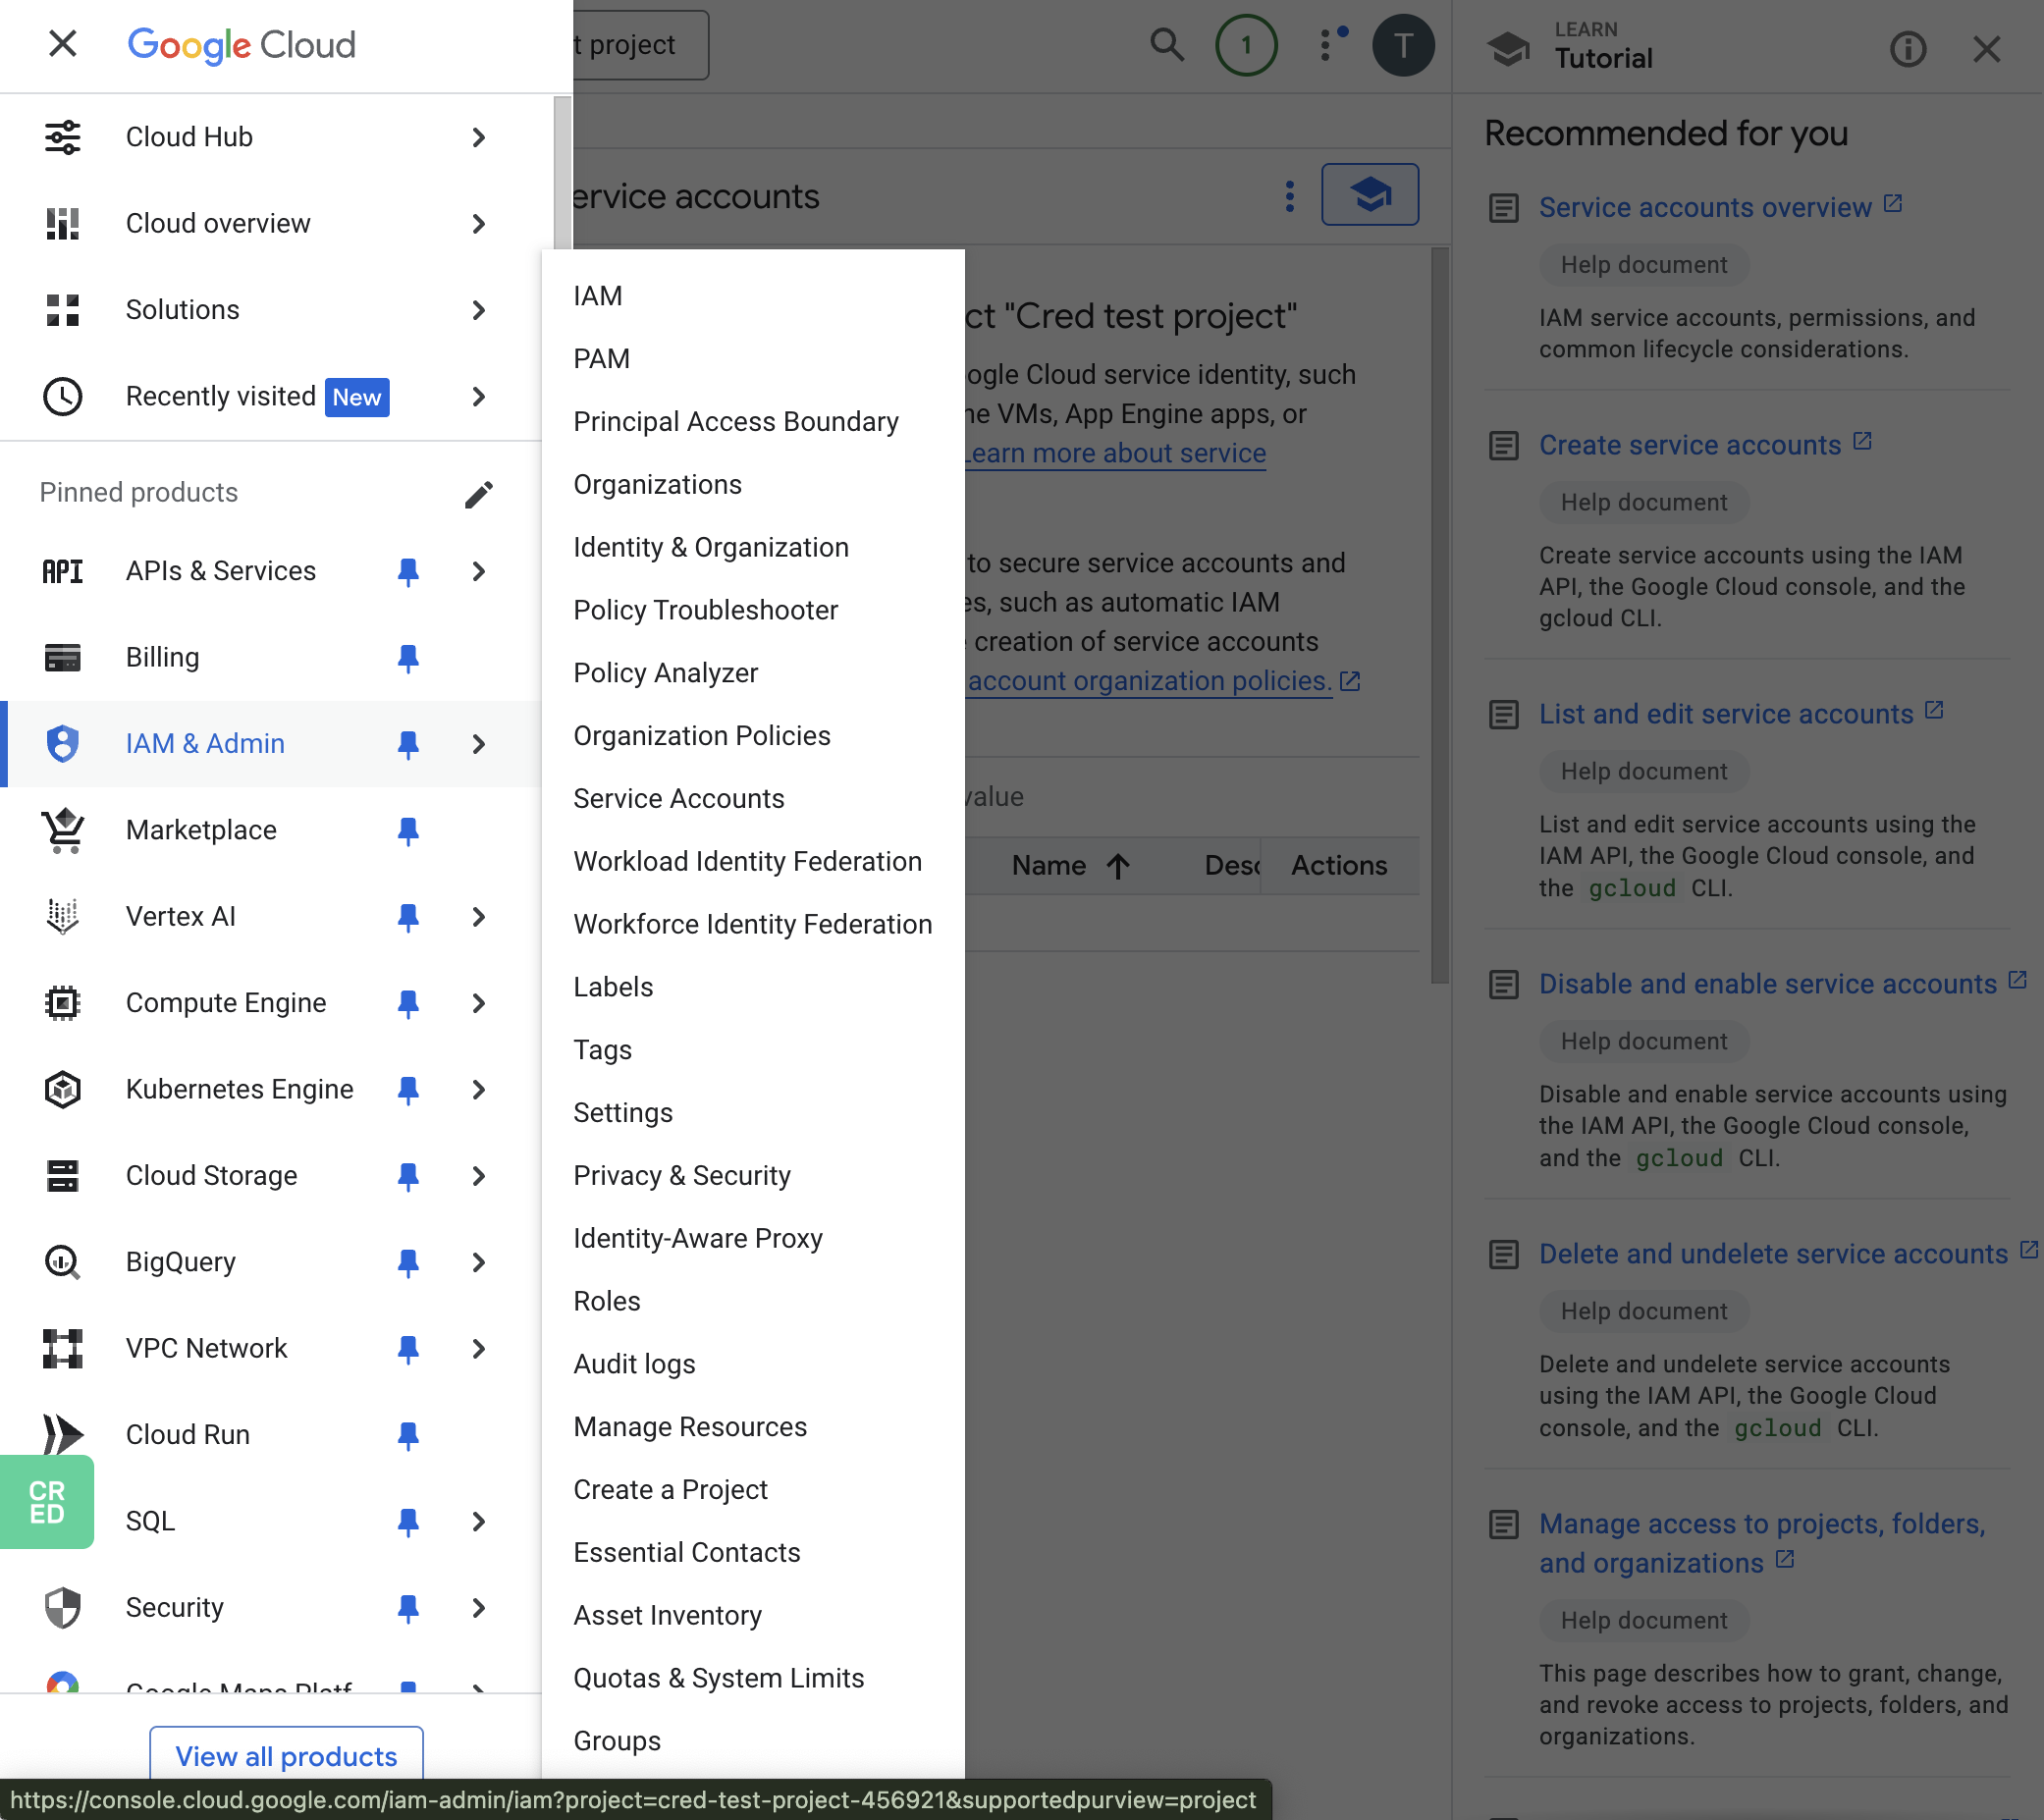
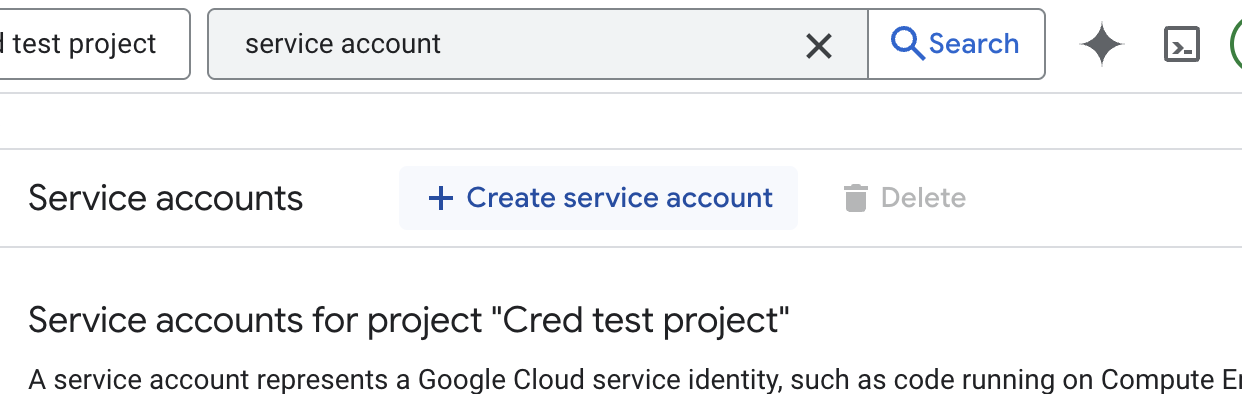
Select your project, then click Create Service Account
Enter:
Service account name
(Autofilled) Service account ID
(Optional) description
(Optional) Grant the service account access to your GCP app
(Optional) Grant end users access to the service account
Click Done
Step 3: Generate a Service Account Key
Click into the Service Account you just created
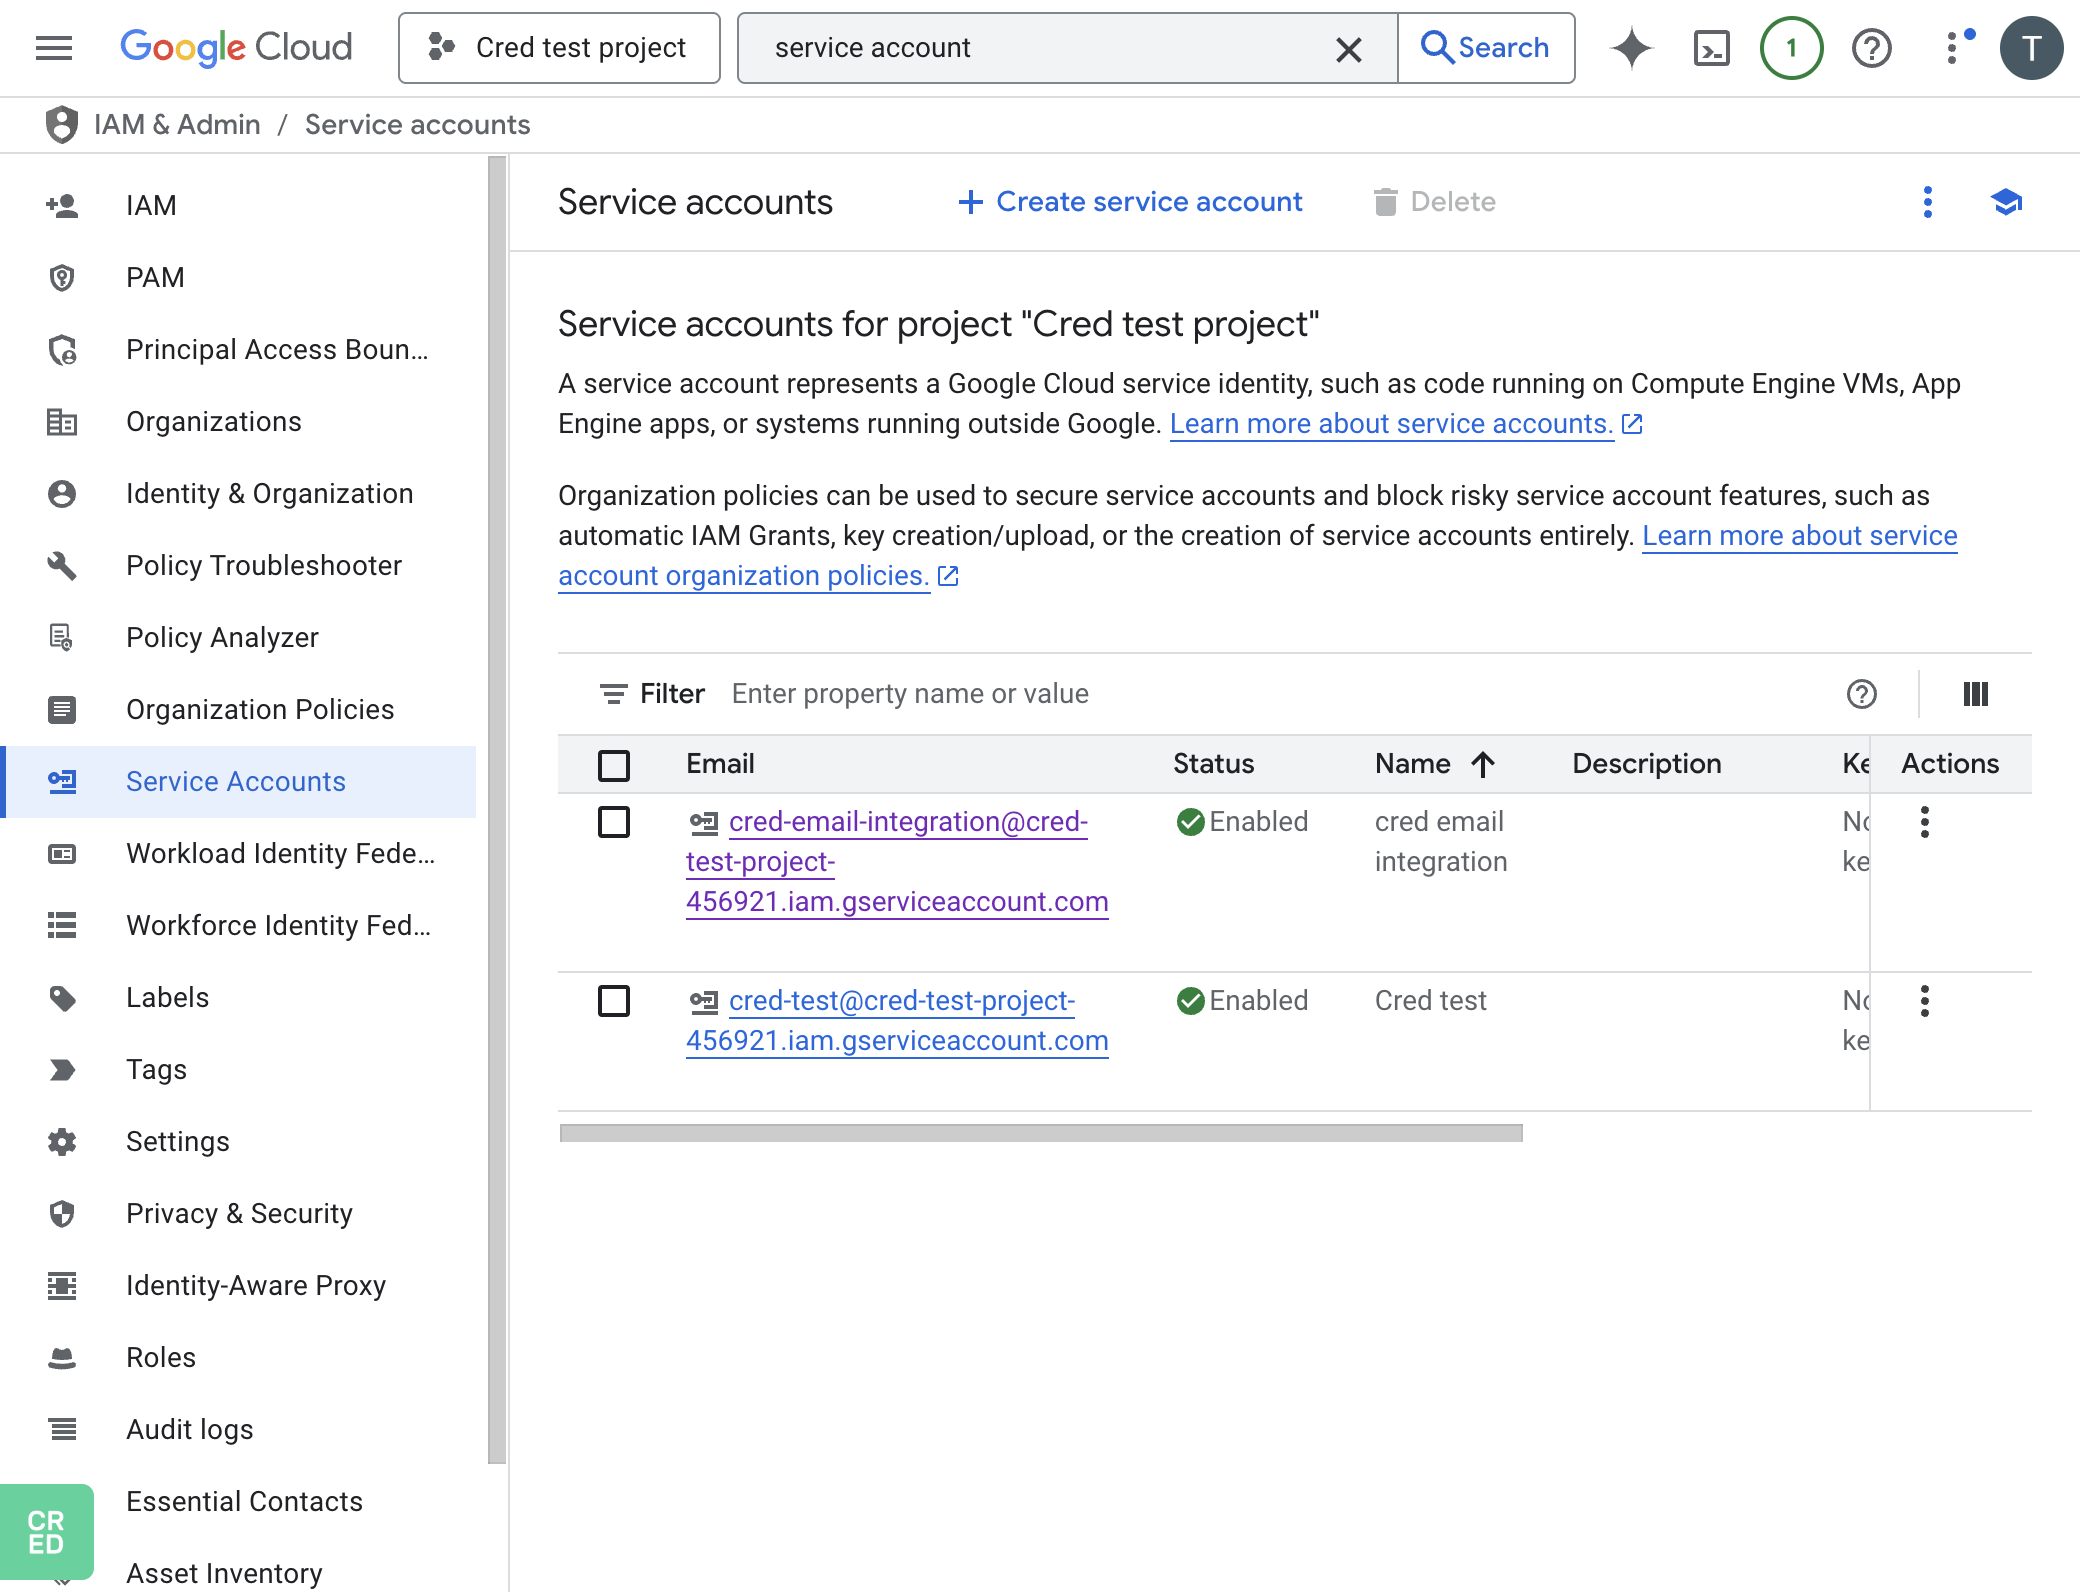
Go to the Keys tab of your new service account
Click Add key -> Create new key
Choose JSON format and click Create
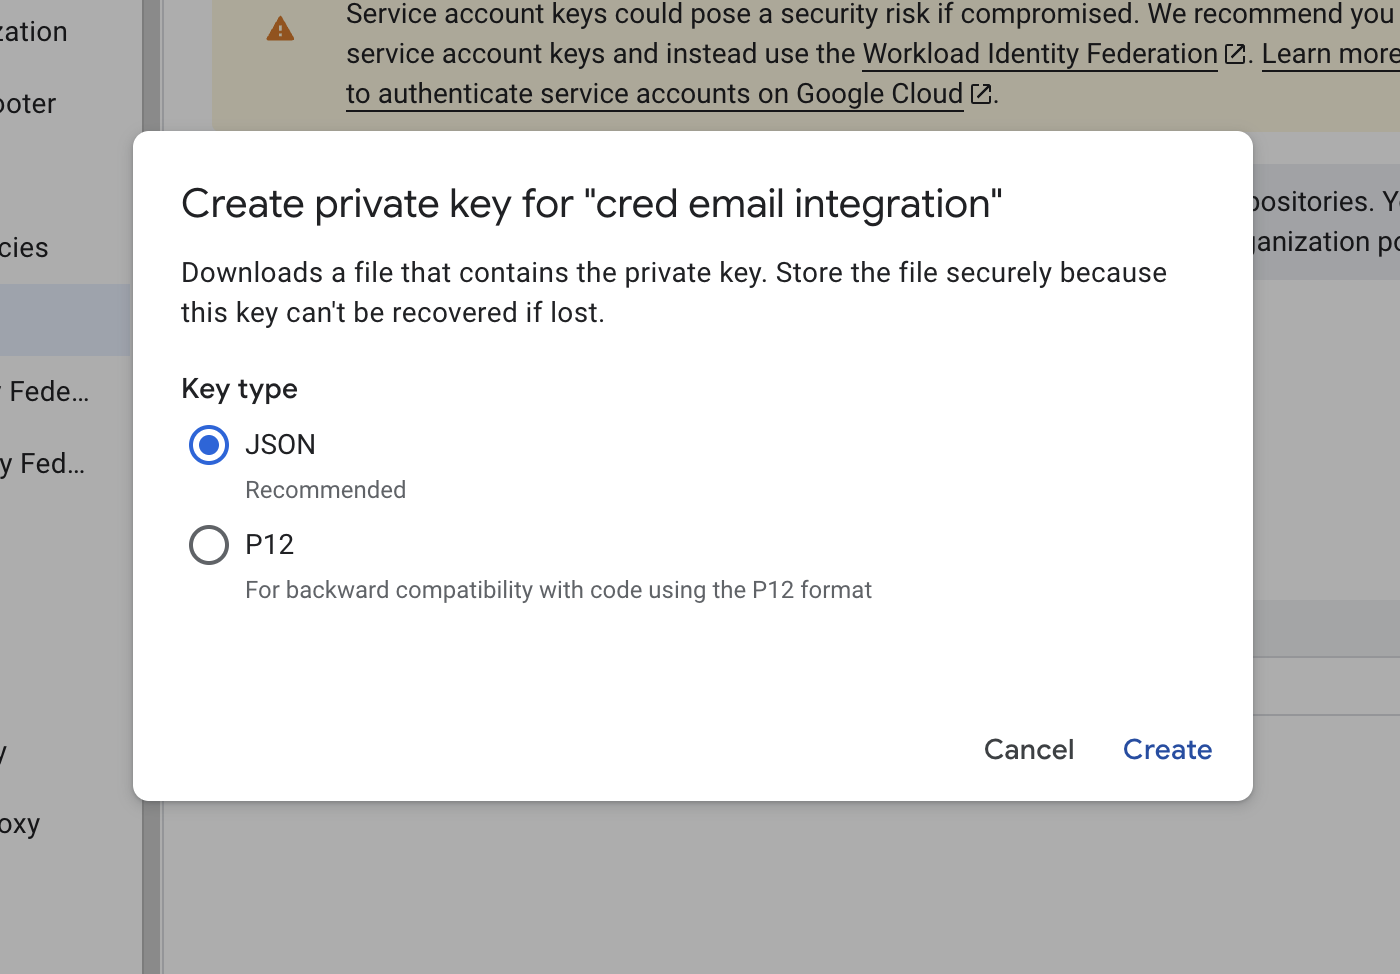
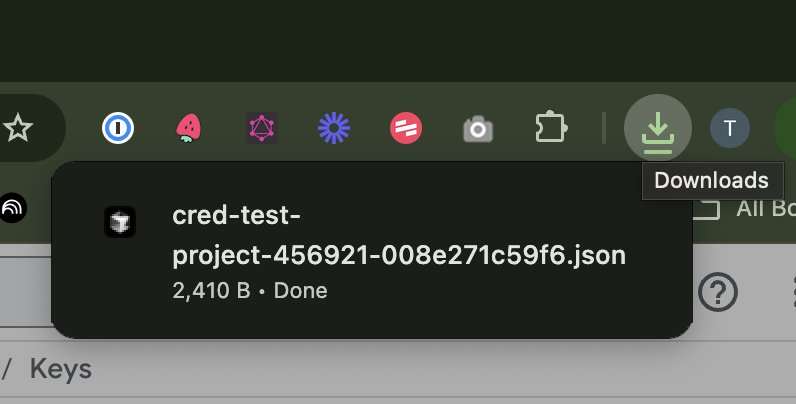
A
.jsonkey file will be automatically downloaded
🔐 Store this file securely in a password-protected location or secrets manager
Step 4: Enable Domain-Wide Delegation
GCP Service Account -> Details tab of the service account
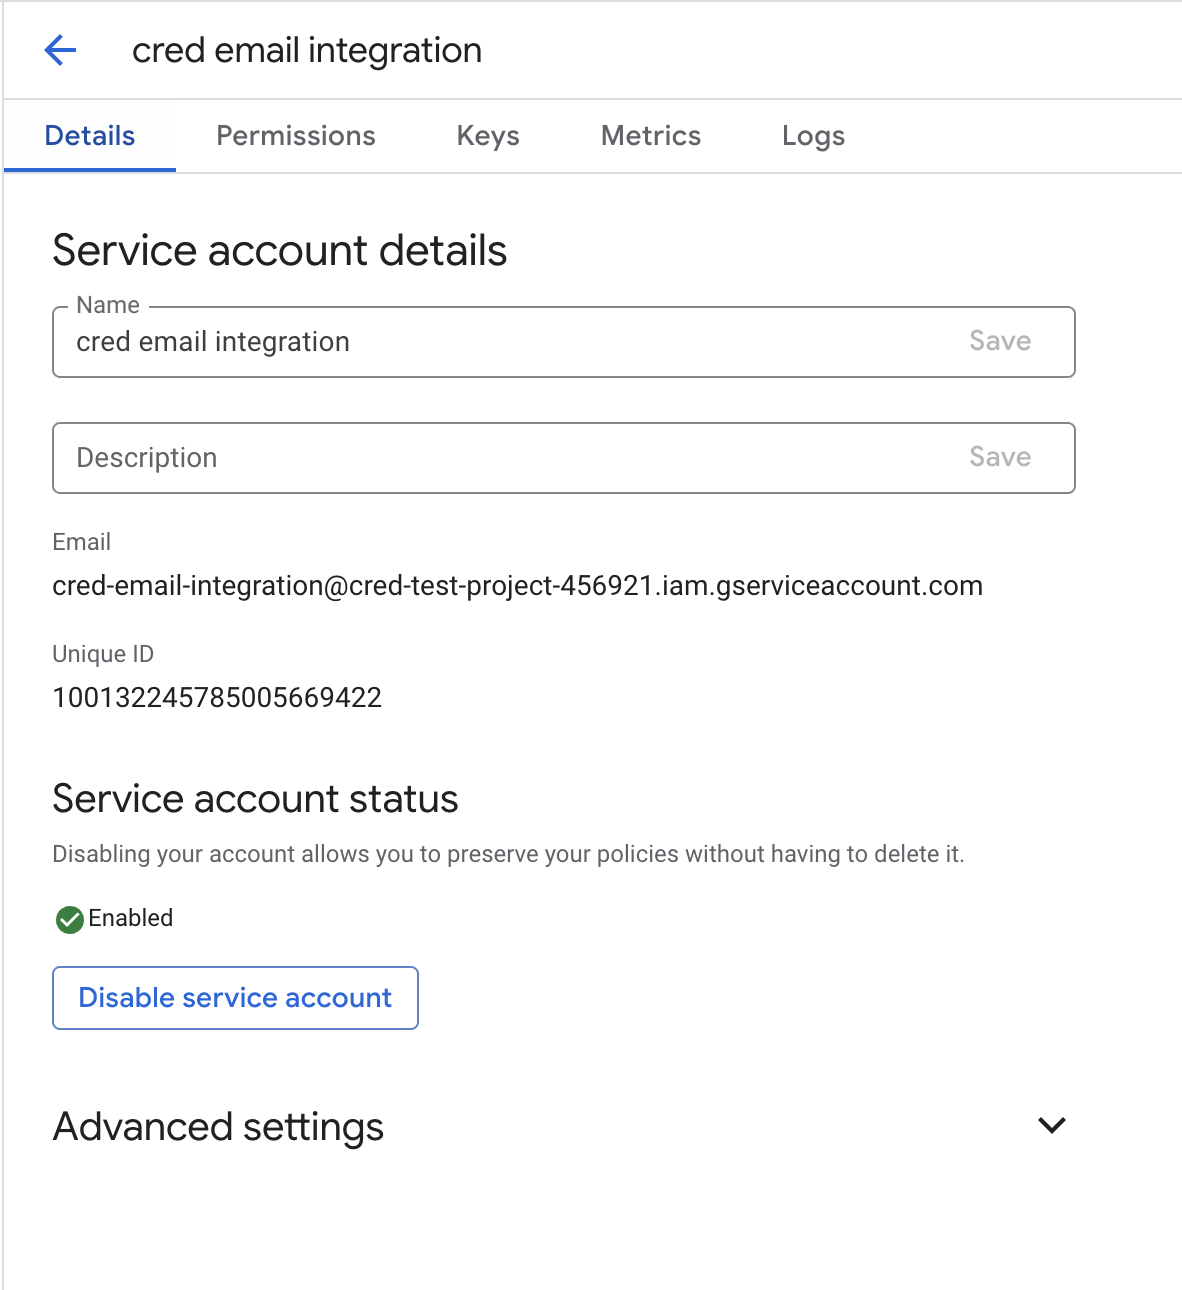
Click Advanced settings to expand
Copy Client ID
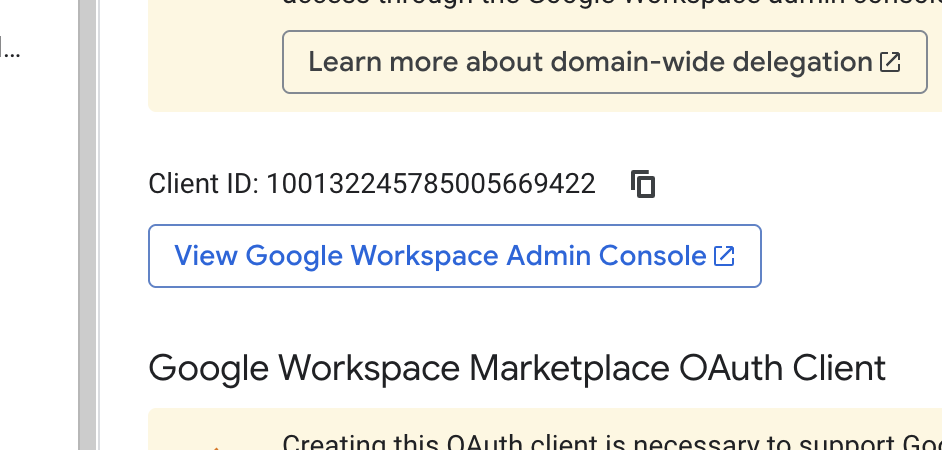
Click Admin console link
Log into Admin console using your administrator account
In Admin console go to Main menu menu -> Security -> Access and data control -> API Controls.
In the Domain wide delegation pane, select Manage Domain Wide Delegation.
Click Add new.
In the Client ID field, enter the copied service account's Client ID. Or you can find your service account's client ID in the Service accounts page.
In the OAuth scopes (comma-delimited) field, enter the list of scopes that your application should be granted access to (no spaces):
https://www.googleapis.com/auth/userinfo.email, https://www.googleapis.com/auth/userinfo.profile, https://www.googleapis.com/auth/gmail.modify, https://www.googleapis.com/auth/gmail.compose, https://www.googleapis.com/auth/gmail.labels, https://www.googleapis.com/auth/calendar, https://www.googleapis.com/auth/contactsClick Authorize
Step 5: Upload the Key to CRED
Go to My Account -> Workspace Integrations in CRED
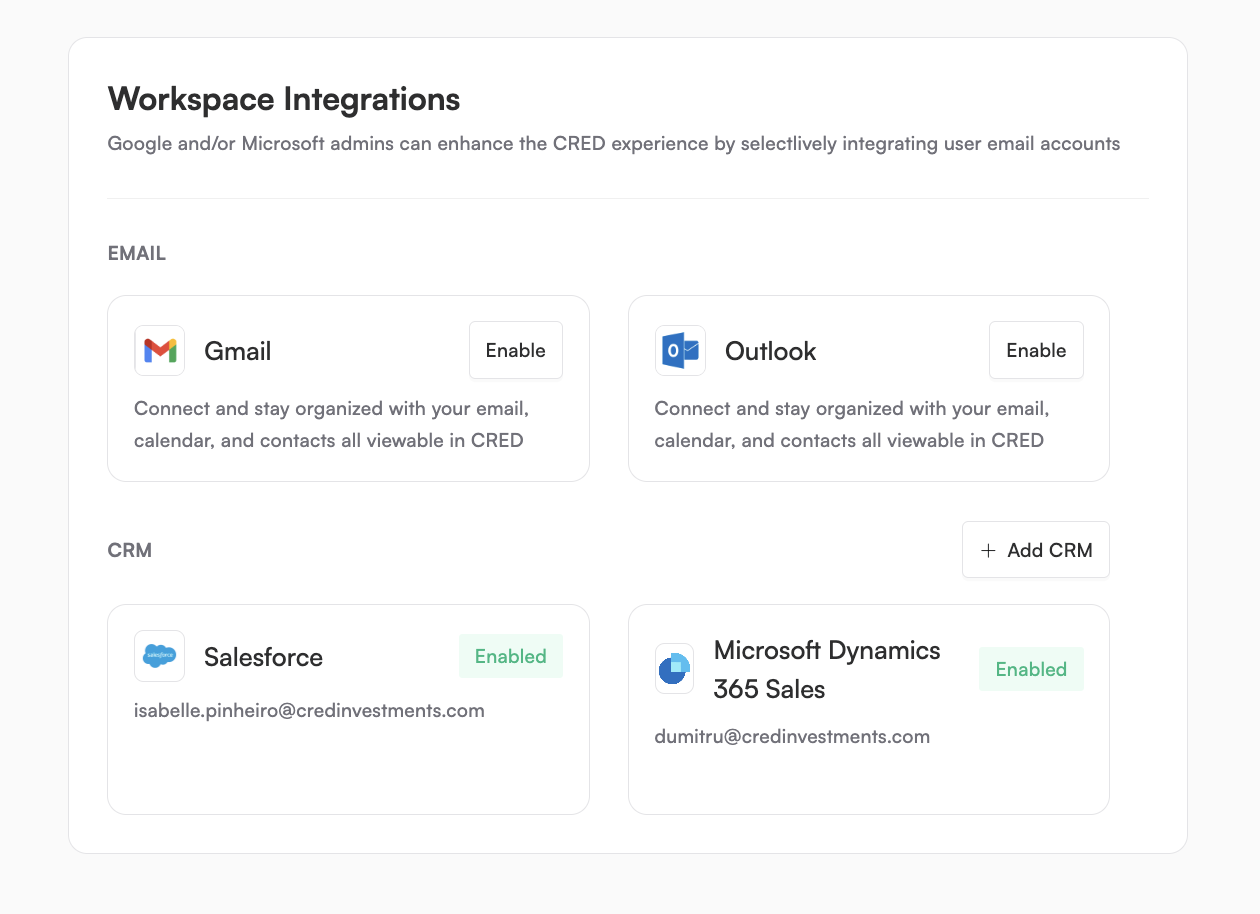
Click Enable next to Gmail
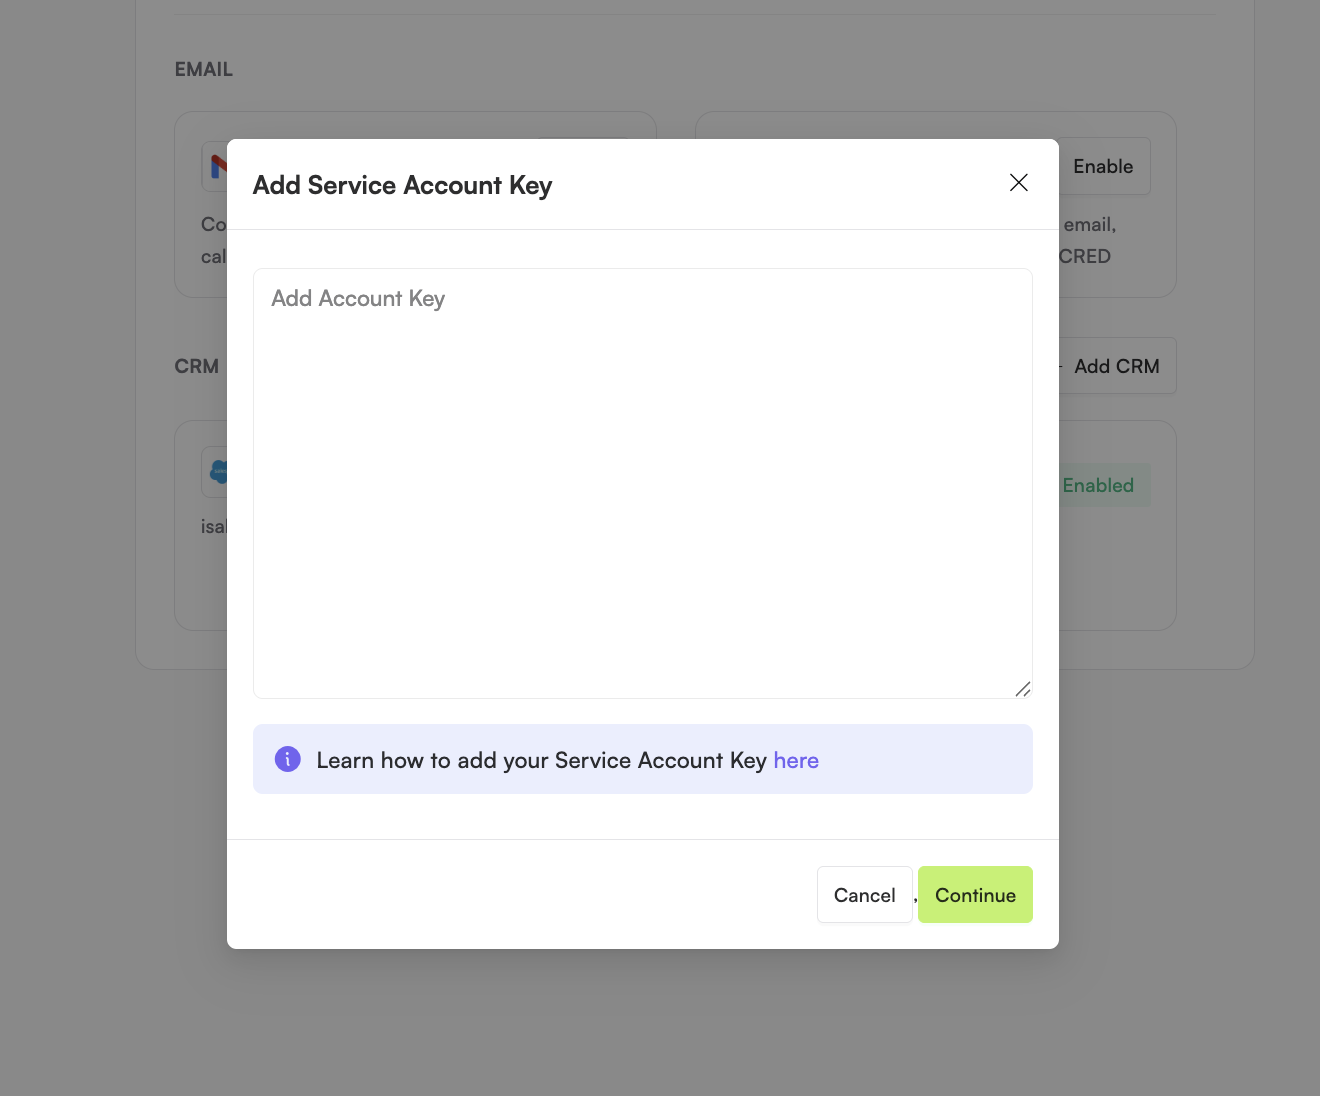
Open the
.jsonkey file you downloaded earlierCopy the entire contents and paste it into Add Account Key
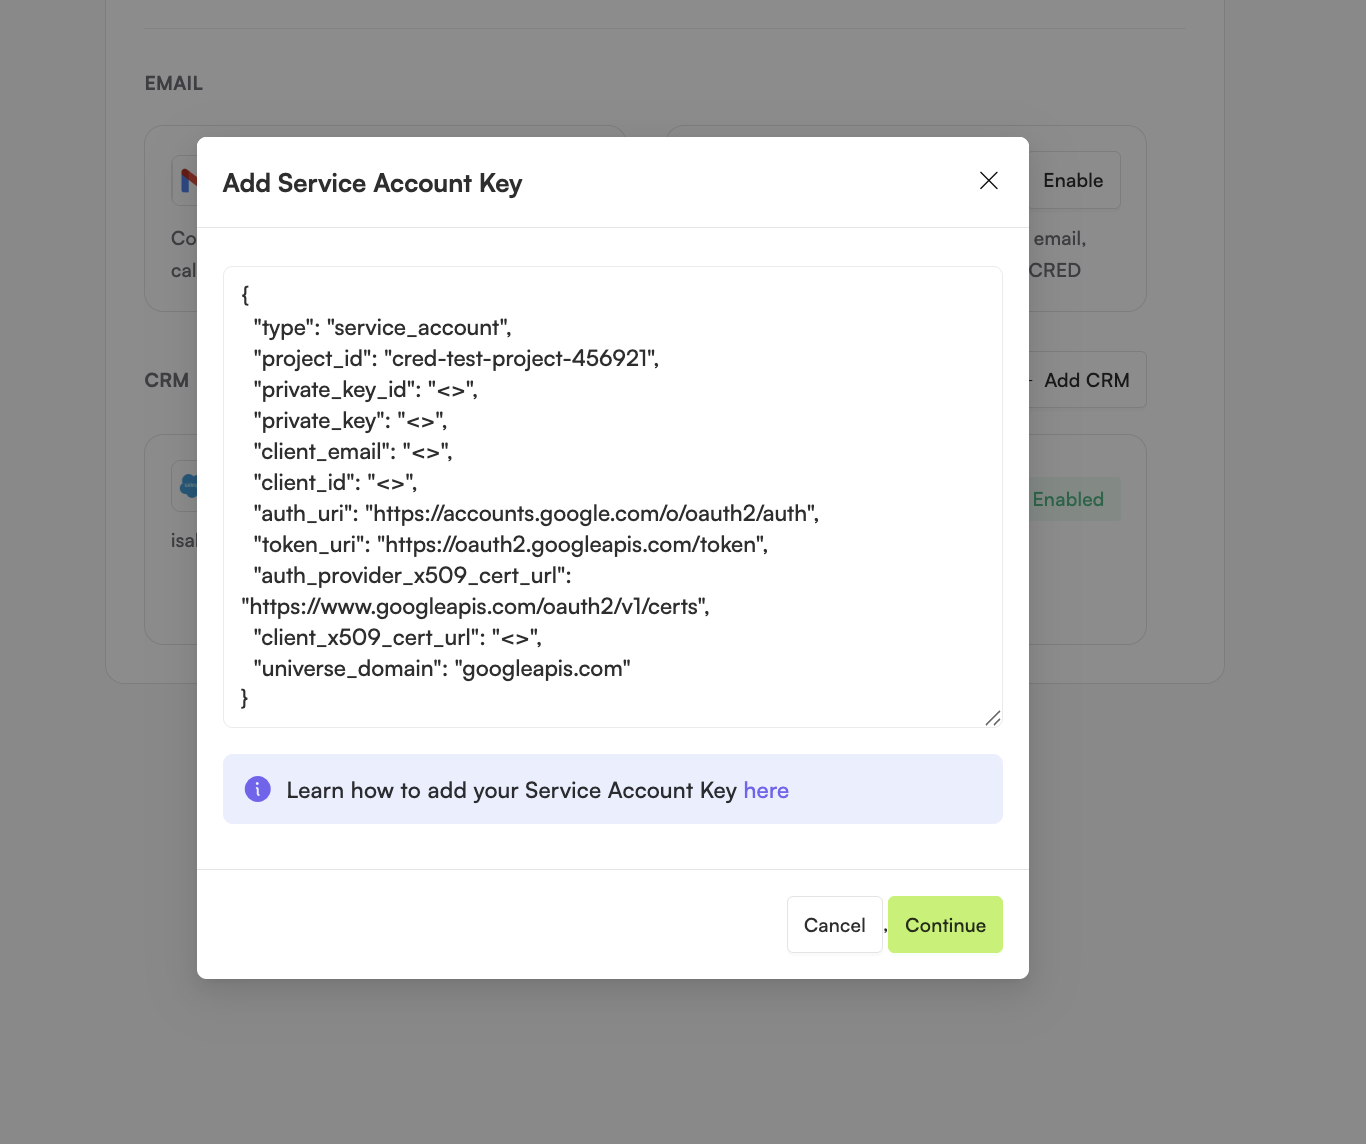
Click Continue to upload
✅ Your workspace has been connected to Gmail, you must now add all users.
⚠️ If users aren't directly added after the workspace is connected, they won't be integrated.
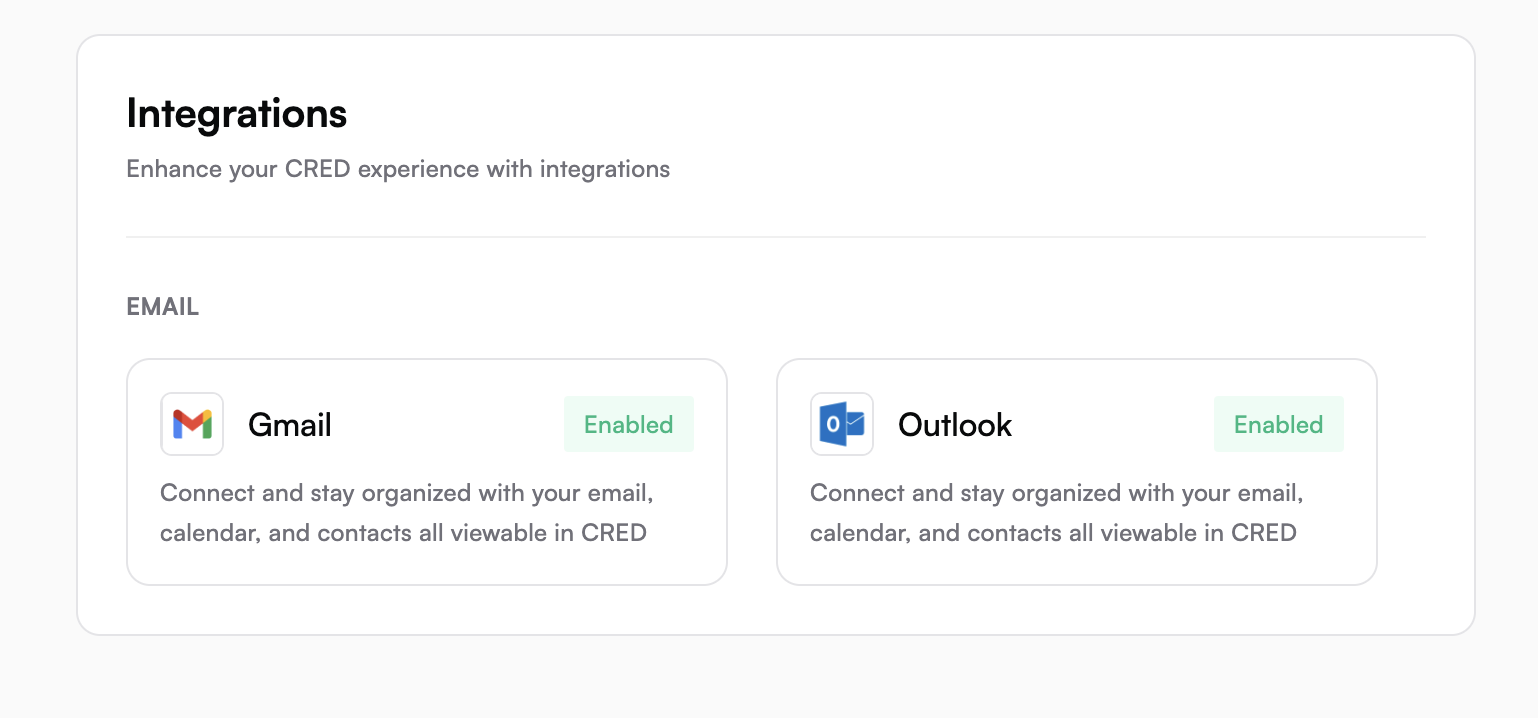
Click on the Gmail tile to open the sidebar.
Click on Add Email.
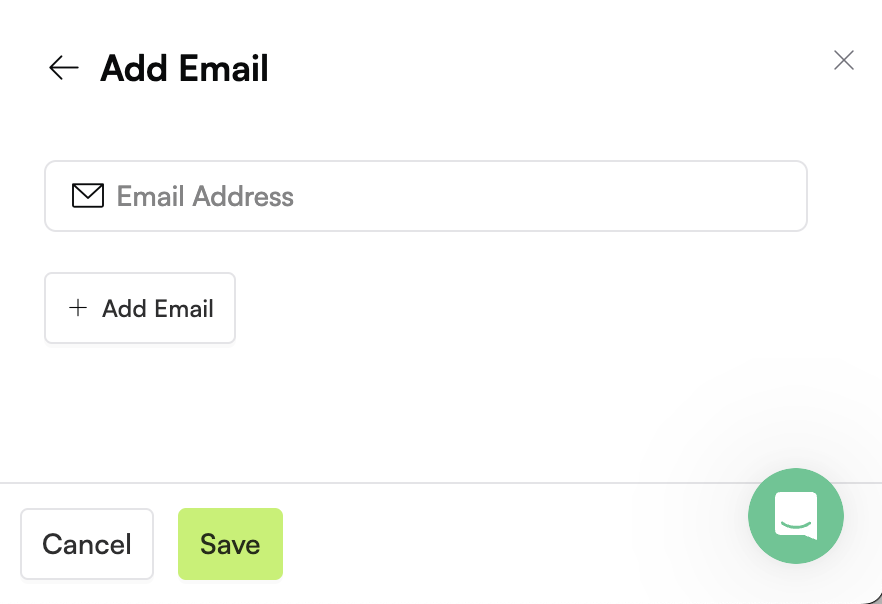
Input email address(es) and click Save.
👤 Individual Email Integration
⚠️ The first person to connect their email needs to be an Google/Microsoft admin so they can approve the CRED app for their workspace. Other users can then connect their accounts directly.
Once your admin has completed the steps above, you can connect your own Gmail or Outlook account:
For Gmail
Go to My Account -> Settings

Click + Add Email
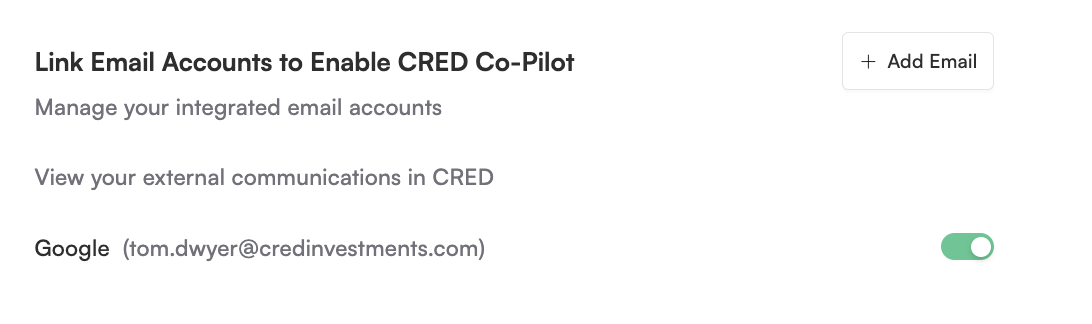
Click Allow Access
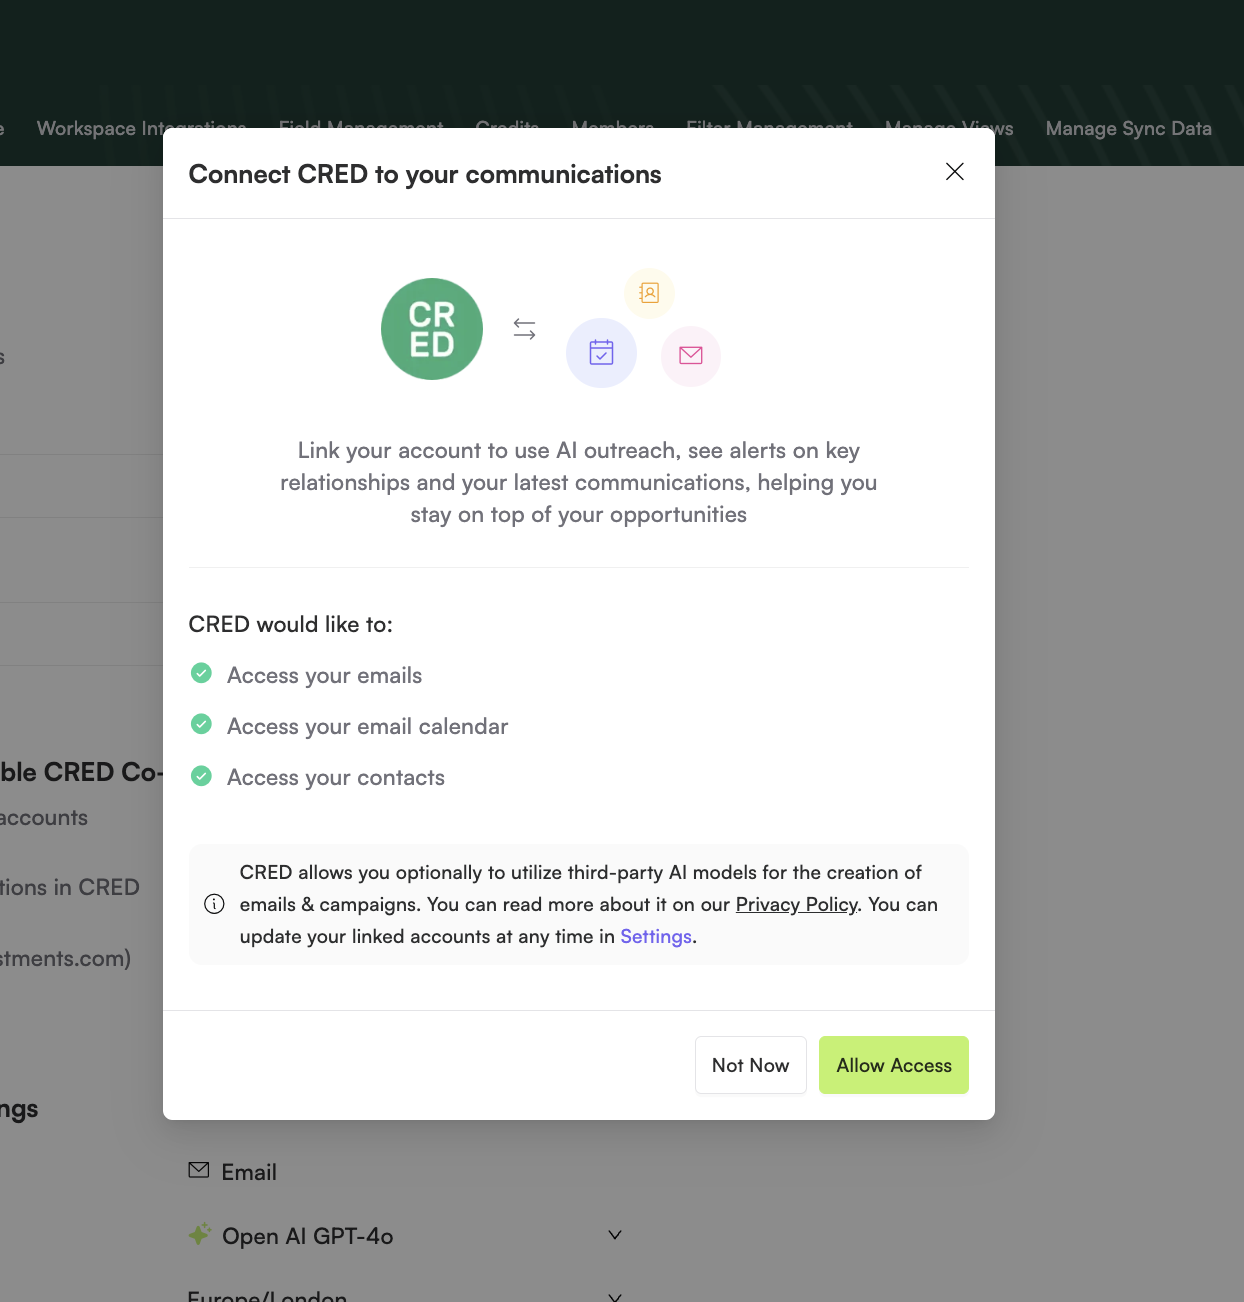
Wait for redirect to api.us.nylas
Click Continue with Google account
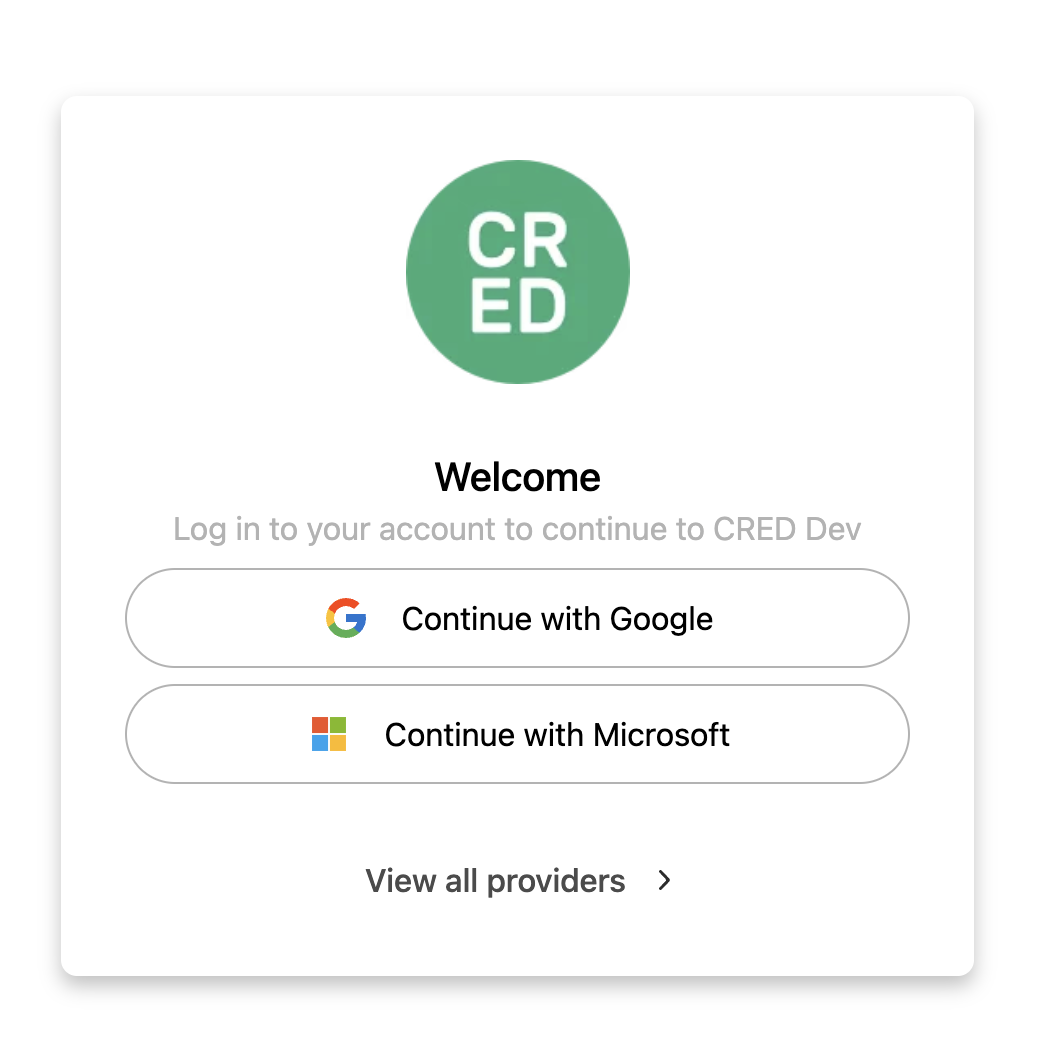
Login or pick your work account.
Allow the CRED integration permissions.
✅ Your gmail is successfully integrated!
⚠️ The first person to connect their email needs to be an Google/Microsoft admin so they can approve the CRED app for their workspace. Other users can then connect their accounts directly.
For Outlook
Go to My Account -> Settings
Click + Add Email
Click Allow Access
Wait for redirect to api.us.nylas
Sign in with your Microsoft account
Login or pick your work account
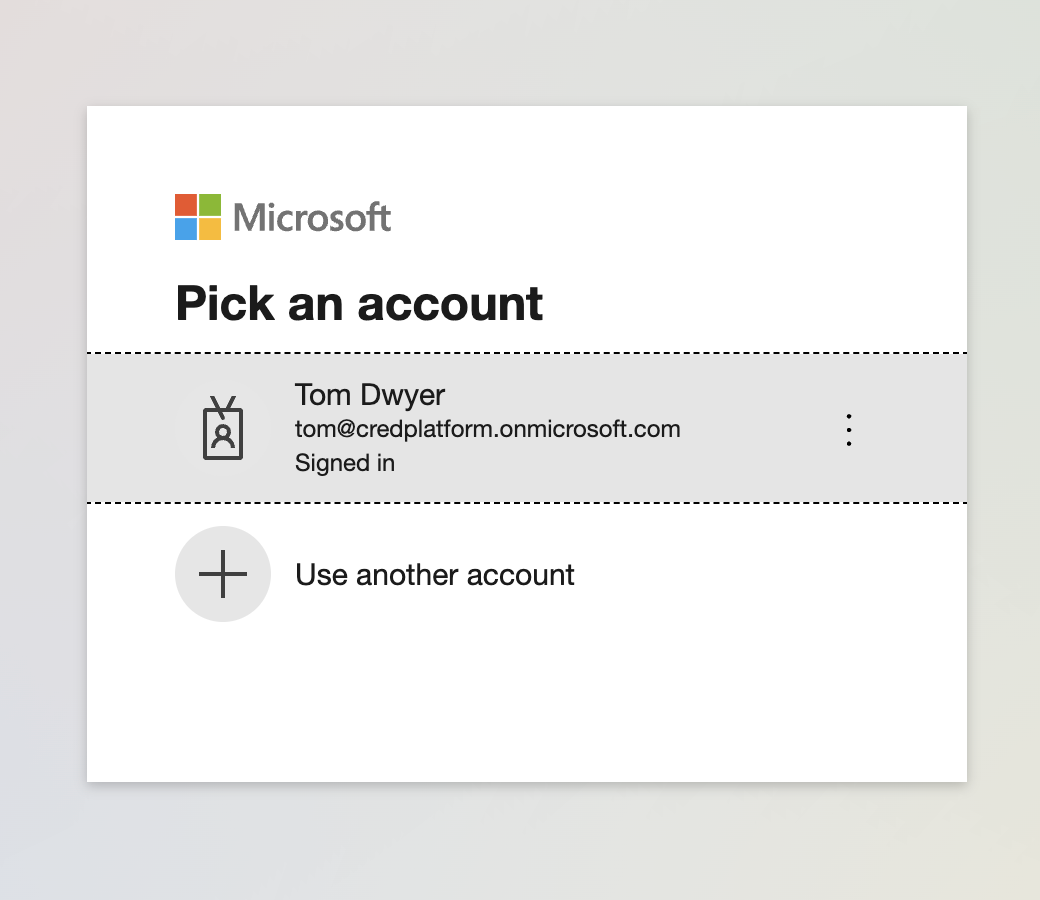
Accept the CRED integration permissions
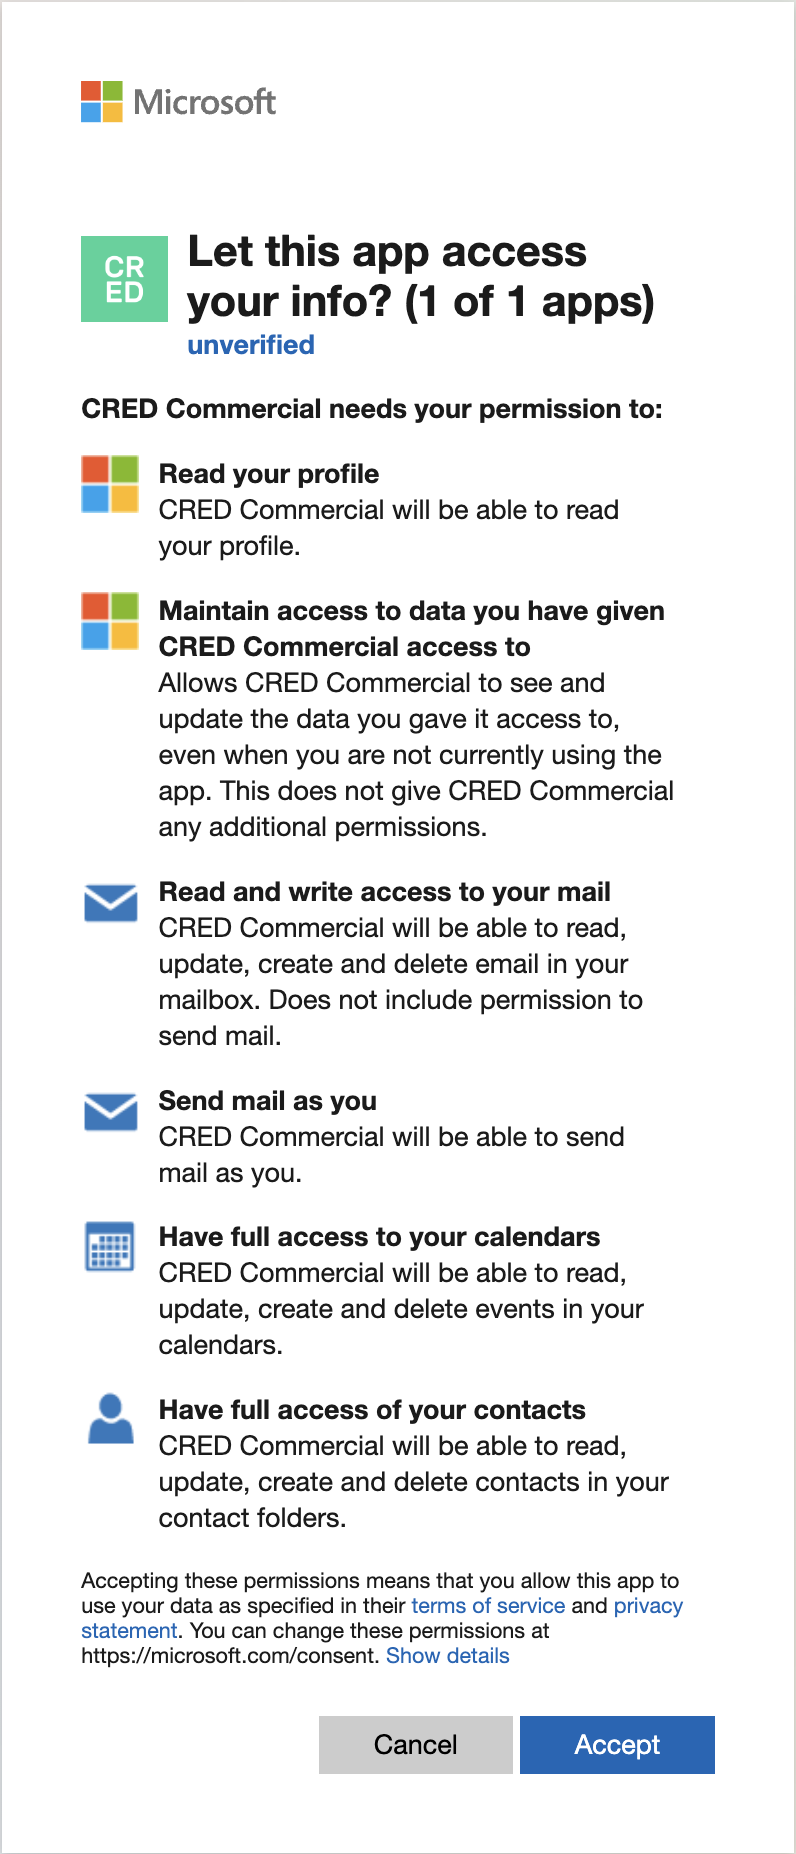
✅ Your gmail is successfully integrated!
⚠️ The first person to connect their email needs to be an Google/Microsoft admin so they can approve the CRED app for their workspace. Other users can then connect their accounts directly.
🧠 Troubleshooting & FAQs
1. Does CRED only have access to Outlook emails sent via the platform, or any emails in a user’s inbox/outbox?
Users authorized on a CRED instance can choose to link their Outlook accounts. This integration allows full email functionality within the platform, including sending and viewing emails, similar to any standard email service. Email integration is optional and not required to use the CRED platform.
2. If a user sends an email using CRED, does the platform view and/or store responses from the recipient?
Emails sent through CRED are encrypted and stored within the customer’s workspace instance. Responses from recipients are also stored in this workspace. Access is restricted to authorized users only, based on admin settings. All data is encrypted at rest and in transit.
3. Does CRED sync with Outlook and store the entire body of an email or just headers?
CRED performs a full sync to support all email features. Admins can configure visibility for metadata (e.g. subject, date, recipients) across users. Email contents are visible only to the authorized user unless explicitly delegated.
4. Does CRED track/store any other data, such as opens or clicks?
Yes. Users can opt to enable open and click tracking when running campaigns. These features are off by default and must be manually enabled.
5. Is data stored in Outlook, CRED’s platform, or both?
Data is stored in both places. CRED securely stores email data on Google Cloud Platform (GCP) using AES-256 encryption. Production data is isolated and never stored on external media.
6. How does CRED encrypt and store data?
CRED uses AES-256 encryption for all data, at rest and in transit. GCP storage includes encryption at both the storage and application levels. OAuth credentials are also securely encrypted.
7. Where is the data stored?
All CRED data is hosted on GCP servers located in either Europe or the United States, depending on customer preference. Single-tenant hosting is available for additional isolation.
8. Does CRED store customer credentials?
Yes. Credentials are securely stored using OAuth 2.0, encrypted both at rest and in transit.
9. How long does CRED store customer data?
Data is stored indefinitely unless deleted by the customer. You can remove a linked account via the dashboard at any time. Revoking access stops new syncs, but does not delete existing data.
10. Does CRED offer an on-premises solution?
CRED does not offer an on-premises solution, but does support single-tenant environments on GCP for enterprise customers with security or compliance needs.
11. How does API integration work?
CRED connects to external systems like CRM tools using secure OAuth 2.0-based APIs. This enables seamless data sync and automation across platforms.
12. What are CRED’s best practices for API integration security?
OAuth 2.0 authentication
Role-based access control (RBAC)
TLS & AES-256 encryption
Monitoring, logging, and audits
Rate limiting & throttling
Automatic security patching
13. How are API keys and tokens secured?
Tokens are encrypted and securely stored in GCP Secret Manager, with built-in expiration mechanisms and zero hardcoded secrets.
14. Does CRED limit access to sensitive data?
Yes. CRED uses RBAC and least-privilege principles. Admins can configure access at a granular level for users and teams.
15. What compliance standards does CRED adhere to?
CRED complies with GDPR, SOC 2, and other industry-standard data protection frameworks. Regular audits ensure ongoing adherence.
16. What controls are in place to ensure data security?
Multi-factor authentication (MFA)
Encrypted data at rest and in transit
Access logging and monitoring
Audit trails for user and system activity
17. How can I disconnect my email from CRED?
You can disconnect your email at any time by going to Settings > Email > Disconnect.
Admins can also revoke access for users at the workspace level via Settings > Integrations.